ArtisanLabFix
Back to home
Restoration Protocol: Burn Mark
Burn Mark Protocol
Minor burn marks can often be improved, but the repair should always move in stages: assess the burn, reduce the damaged layer gradually, fill only if needed, recolor, and then protect the finish.
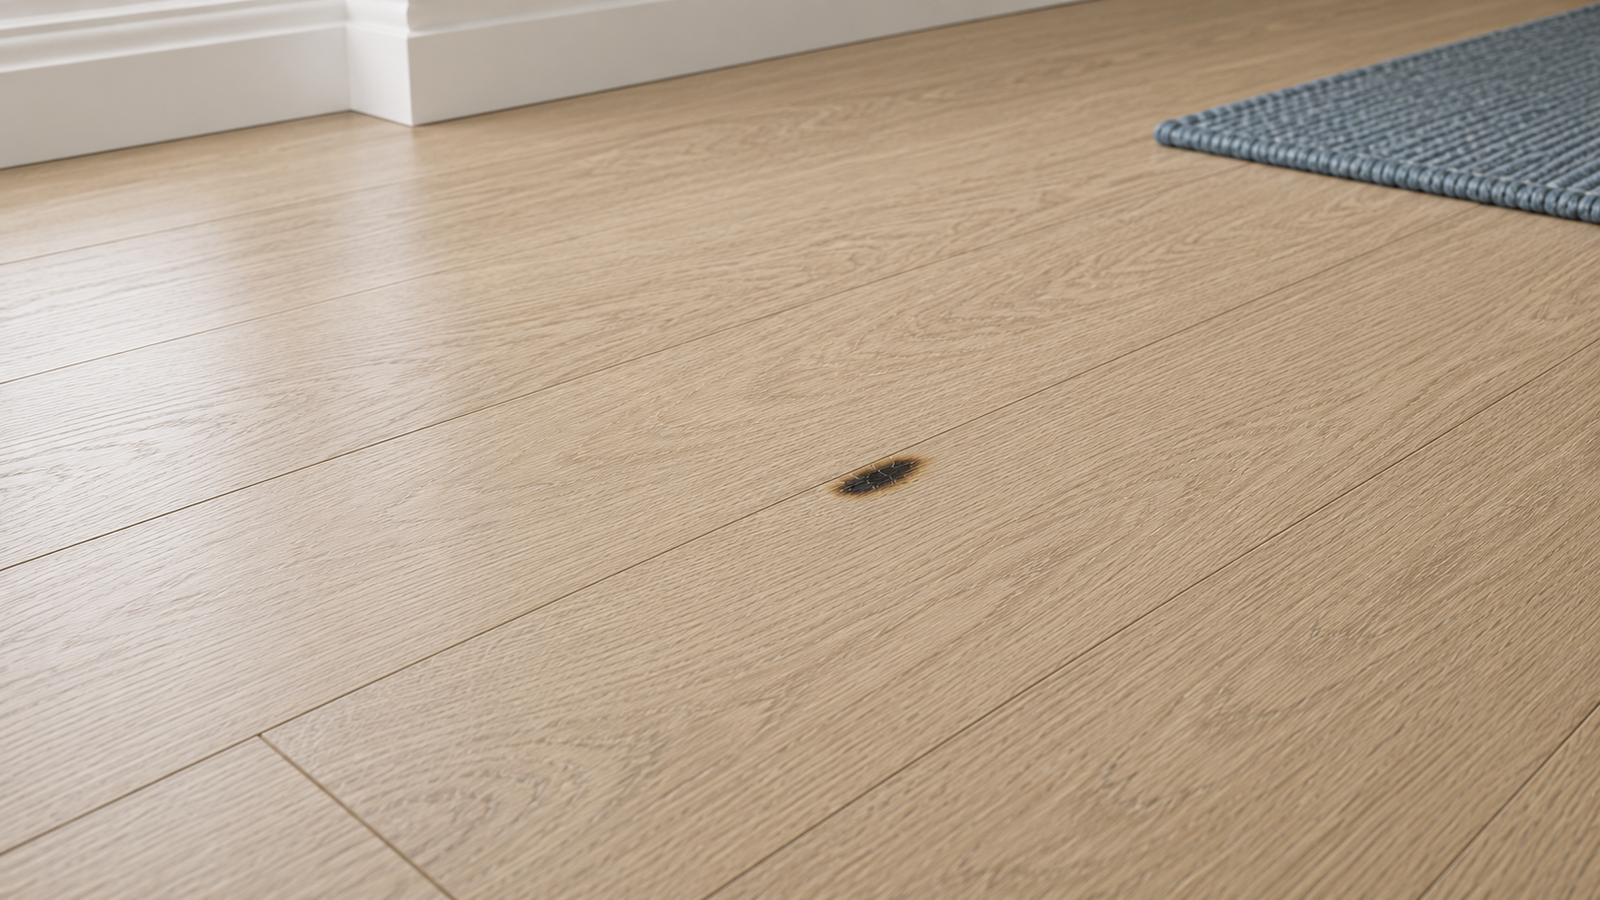
Problem Summary
Dark spots or scorch marks from heat that may be limited to the finish or extend into the wood.
Step-by-step repair
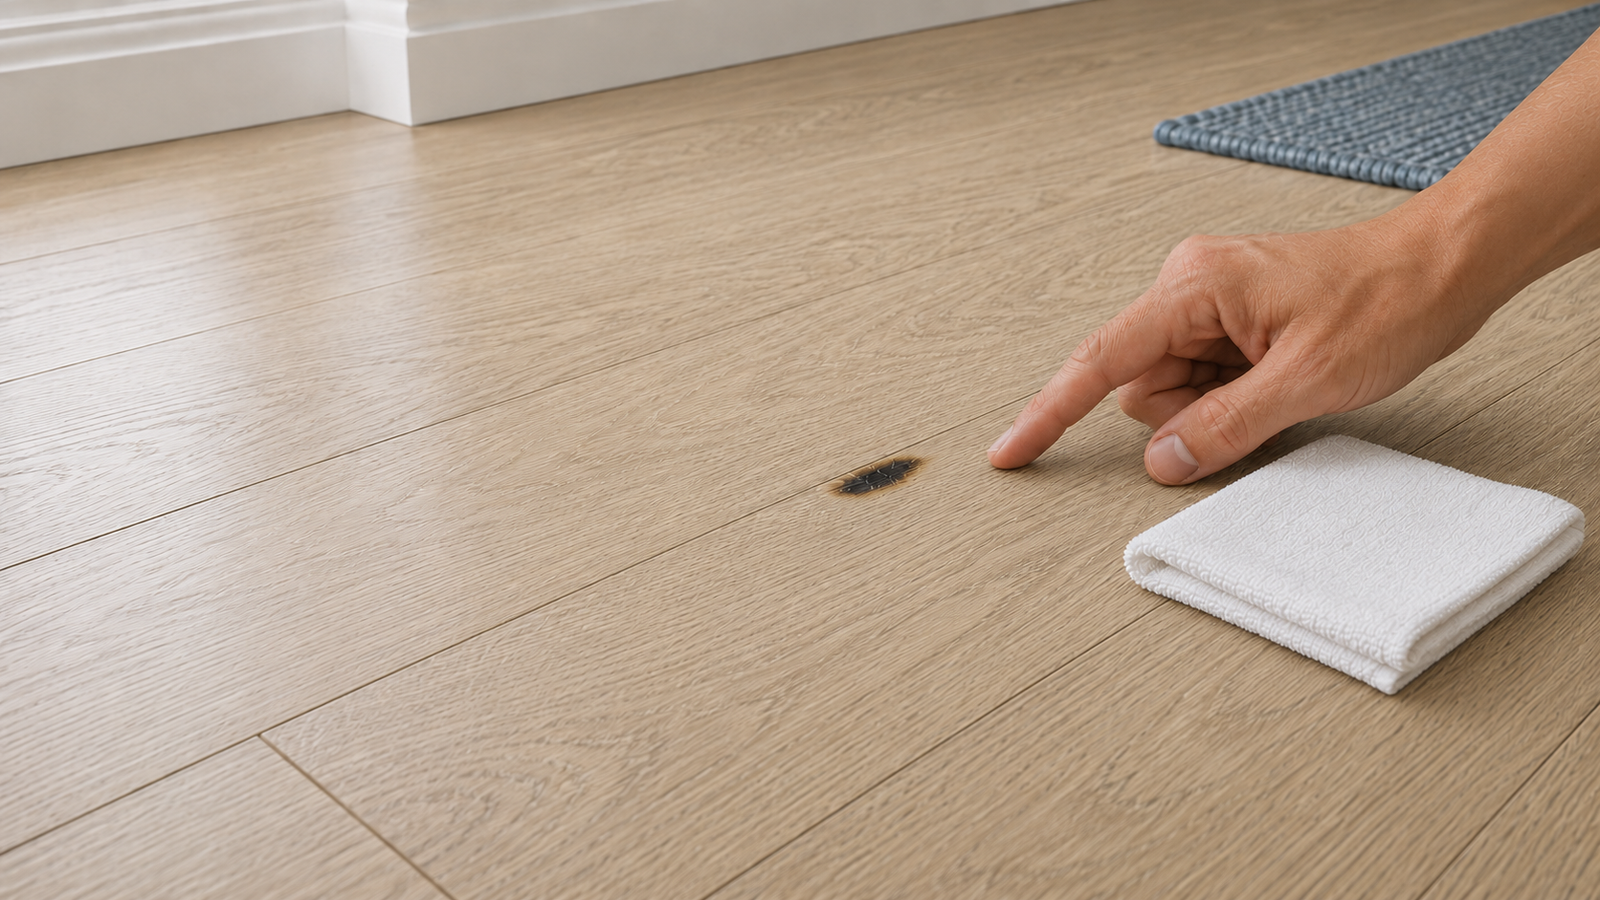
Step 1: Clean and assess the scorch mark
Remove dust and inspect whether the damage is only in the finish or deeper in the wood.
Checkpoint: the mark should be shallow enough to continue with controlled removal.
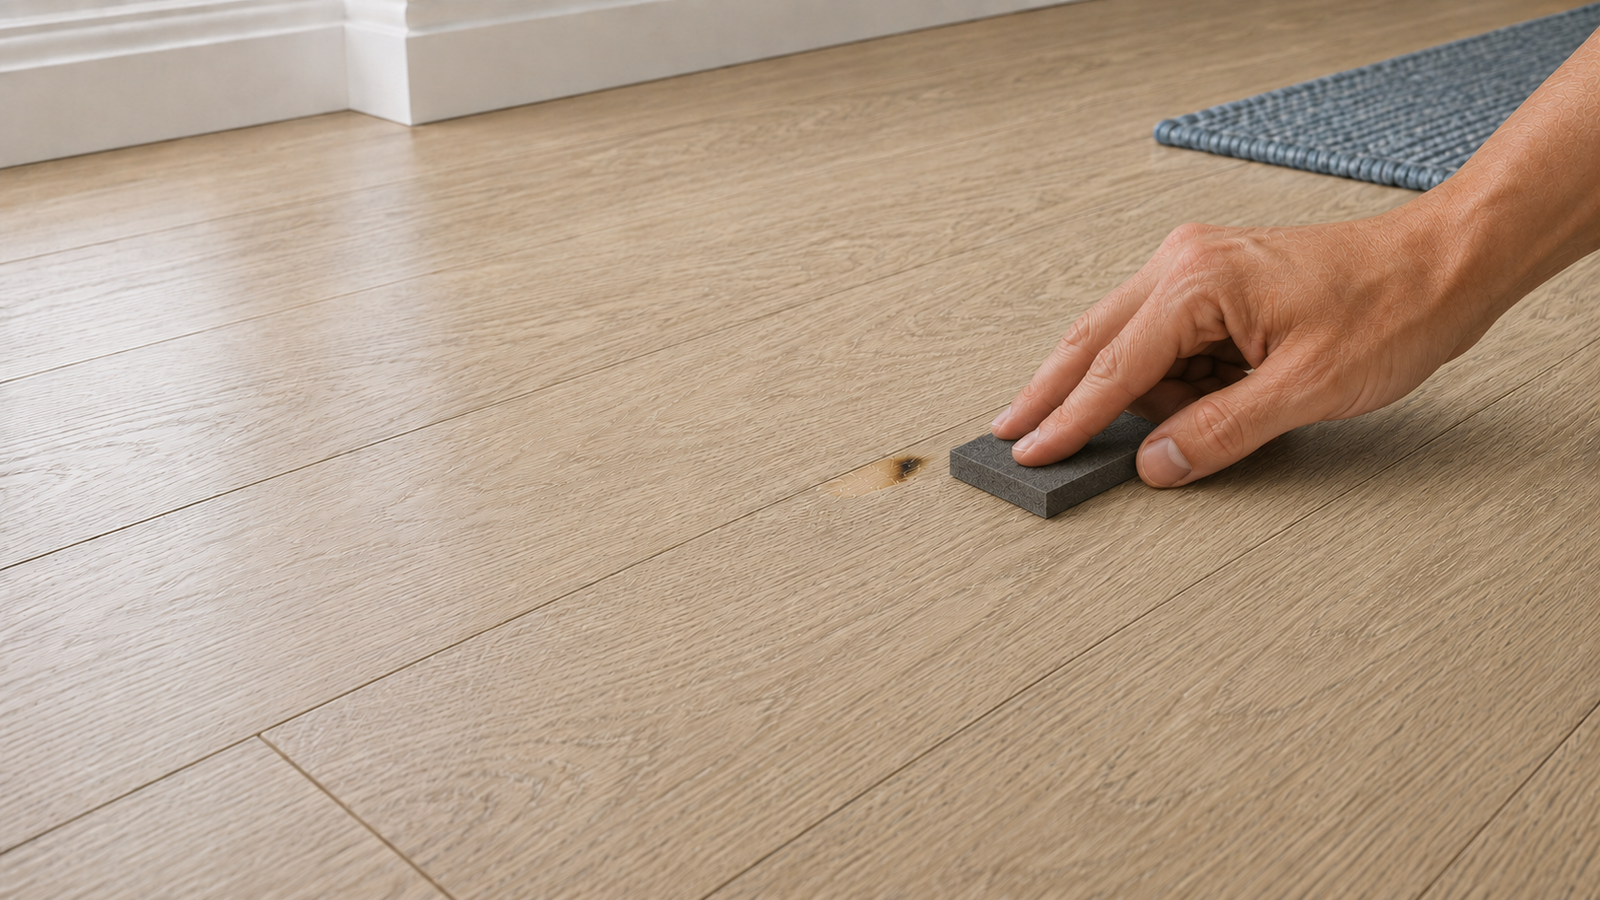
Step 2: Remove the damaged surface
Carefully soften or remove the burned layer gradually, then reassess after every pass.
Checkpoint: the burned edge should be reduced without creating a wider damaged area.
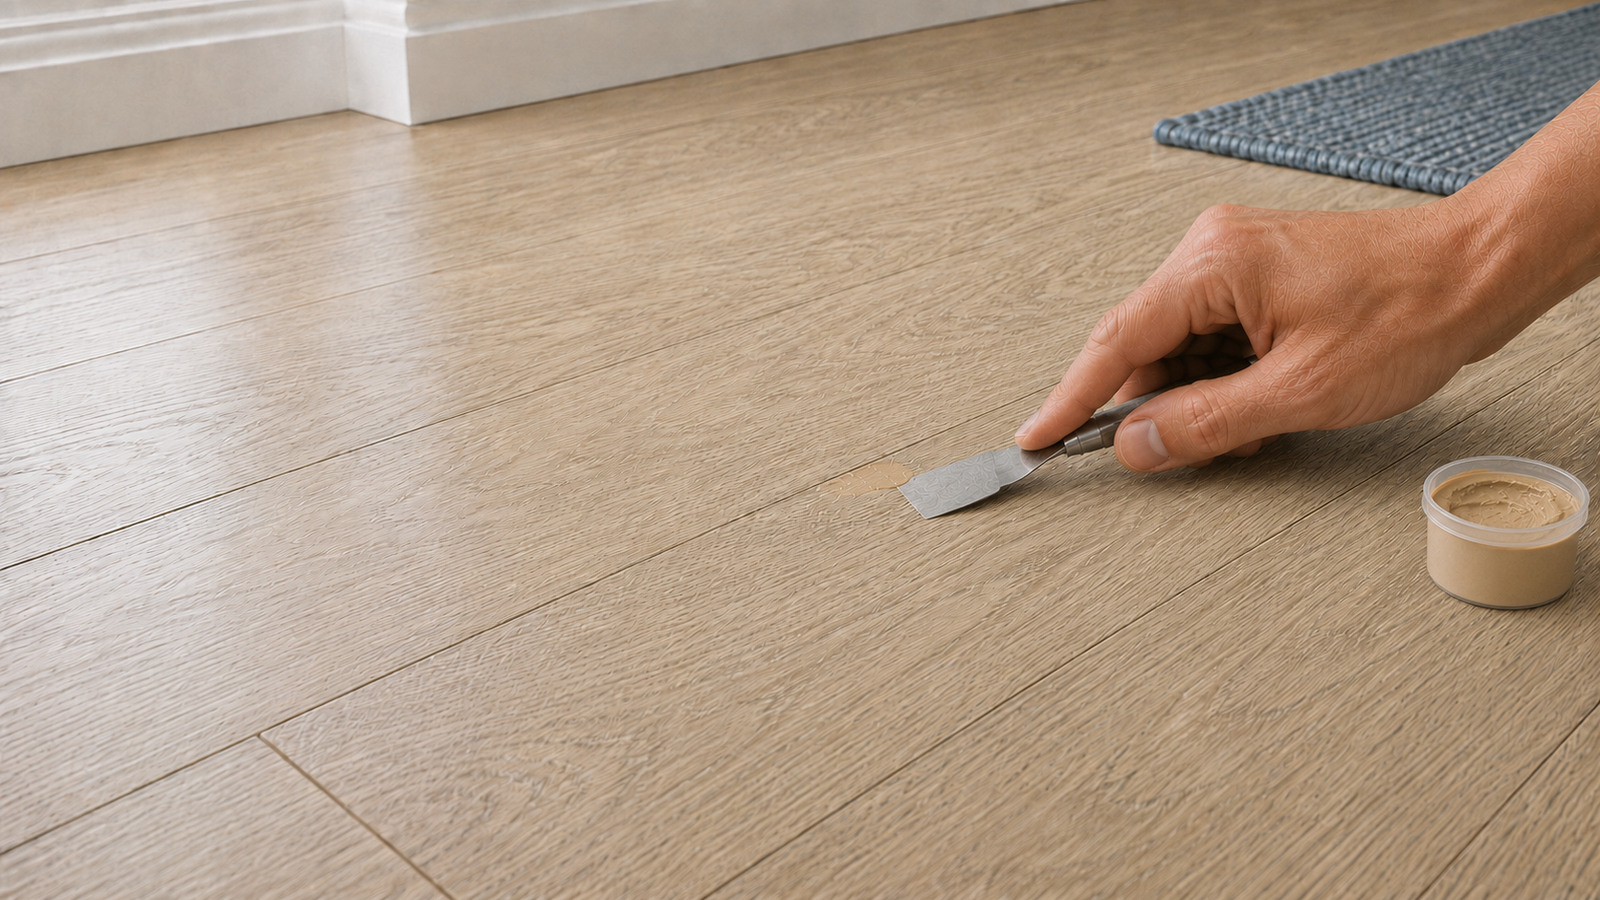
Step 3: Fill and level if needed
If the burn leaves a crater or weak spot, use filler and let it cure fully before sanding.
Checkpoint: the filled area should cure firm and sit level enough for color work.
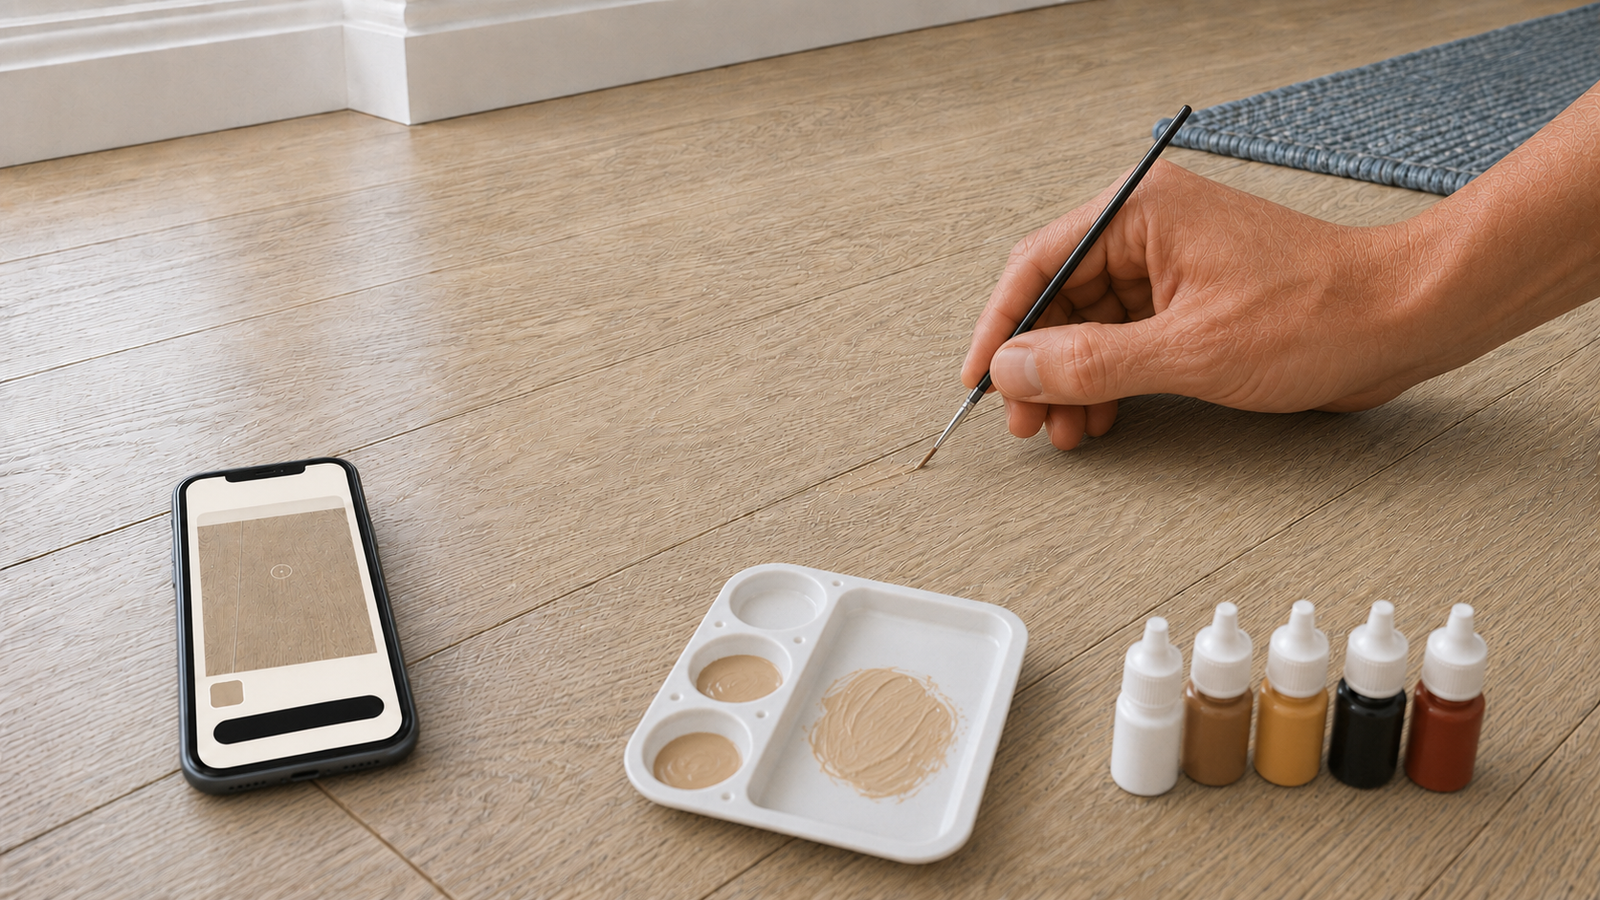
Step 4: Recolor the repair
Use the ArtisanLabFix color matching workflow to blend the repaired zone with the surrounding floor.
Checkpoint: the dry color should blend without a visible burned edge.
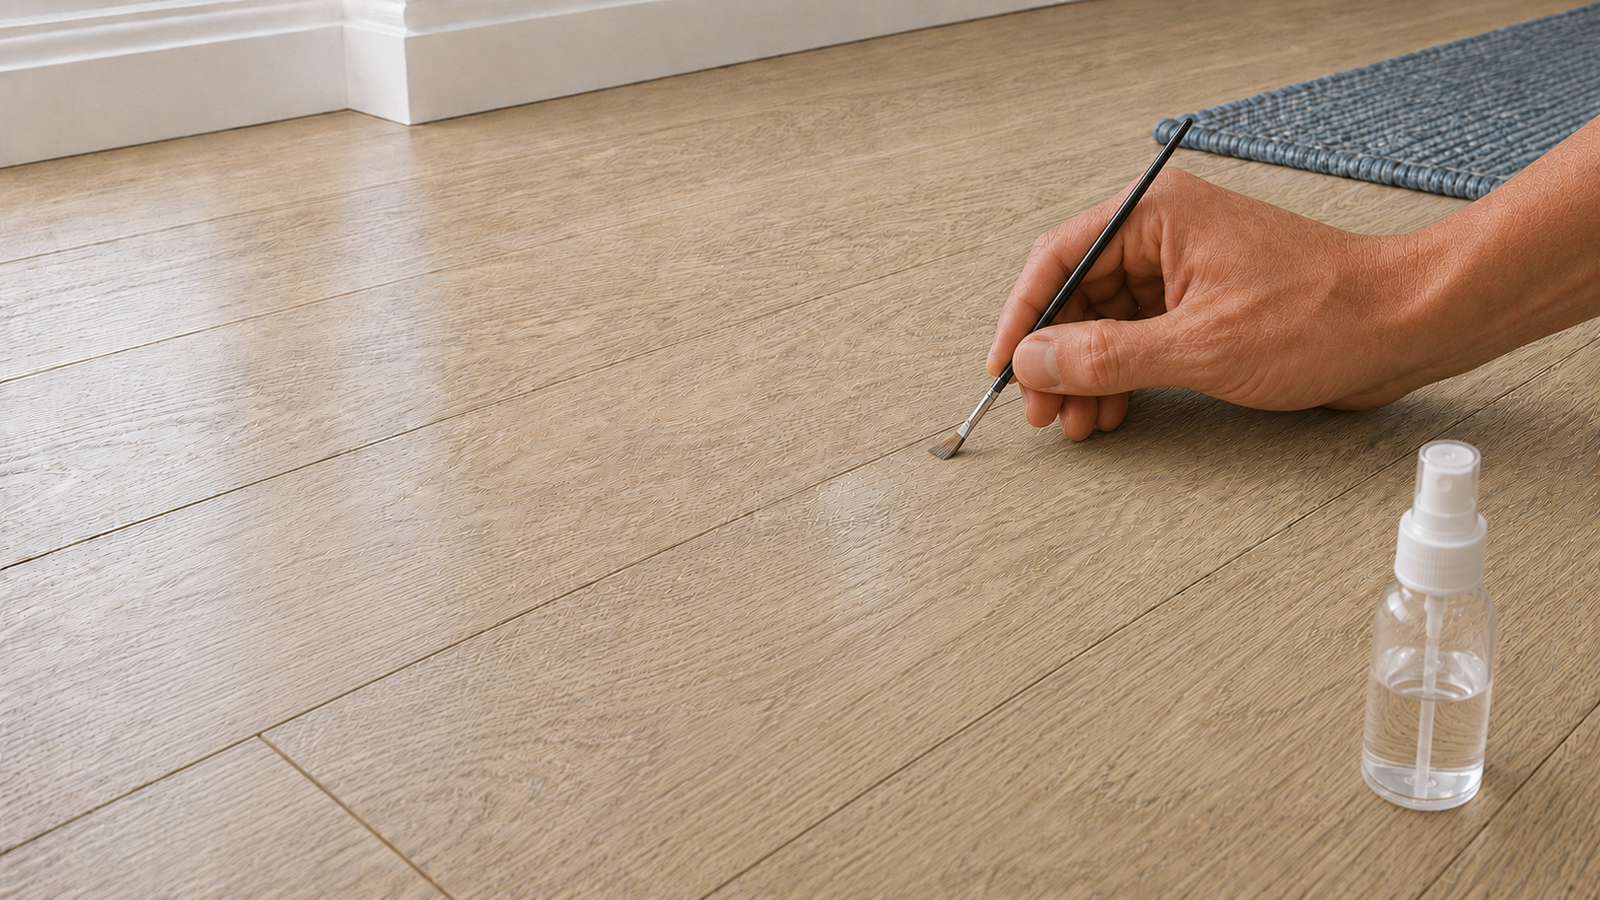
Step 5: Seal and protect
Apply a thin compatible clear finish to lock in the color and restore durability.
Checkpoint: the finish should cure evenly without tacky spots or sheen mismatch.
What you usually need
- Microfiber cleaning cloth
- Fine sanding sponge
- Wood filler
- Putty knife
- Mixing palette
- Acrylic pigments
- Compatible clear finish
Want product recommendations and the ArtisanLabFix color matcher?
If the burn is deep enough to weaken the wood, stop and consider a more advanced repair path.