ArtisanLabFix
Back to homeRestoration Protocol: Chips & Gouges
Chips & Gouges Protocol
Chips and gouges remove material, so the repair usually needs rebuilding first, then sanding, color matching, and finish protection.
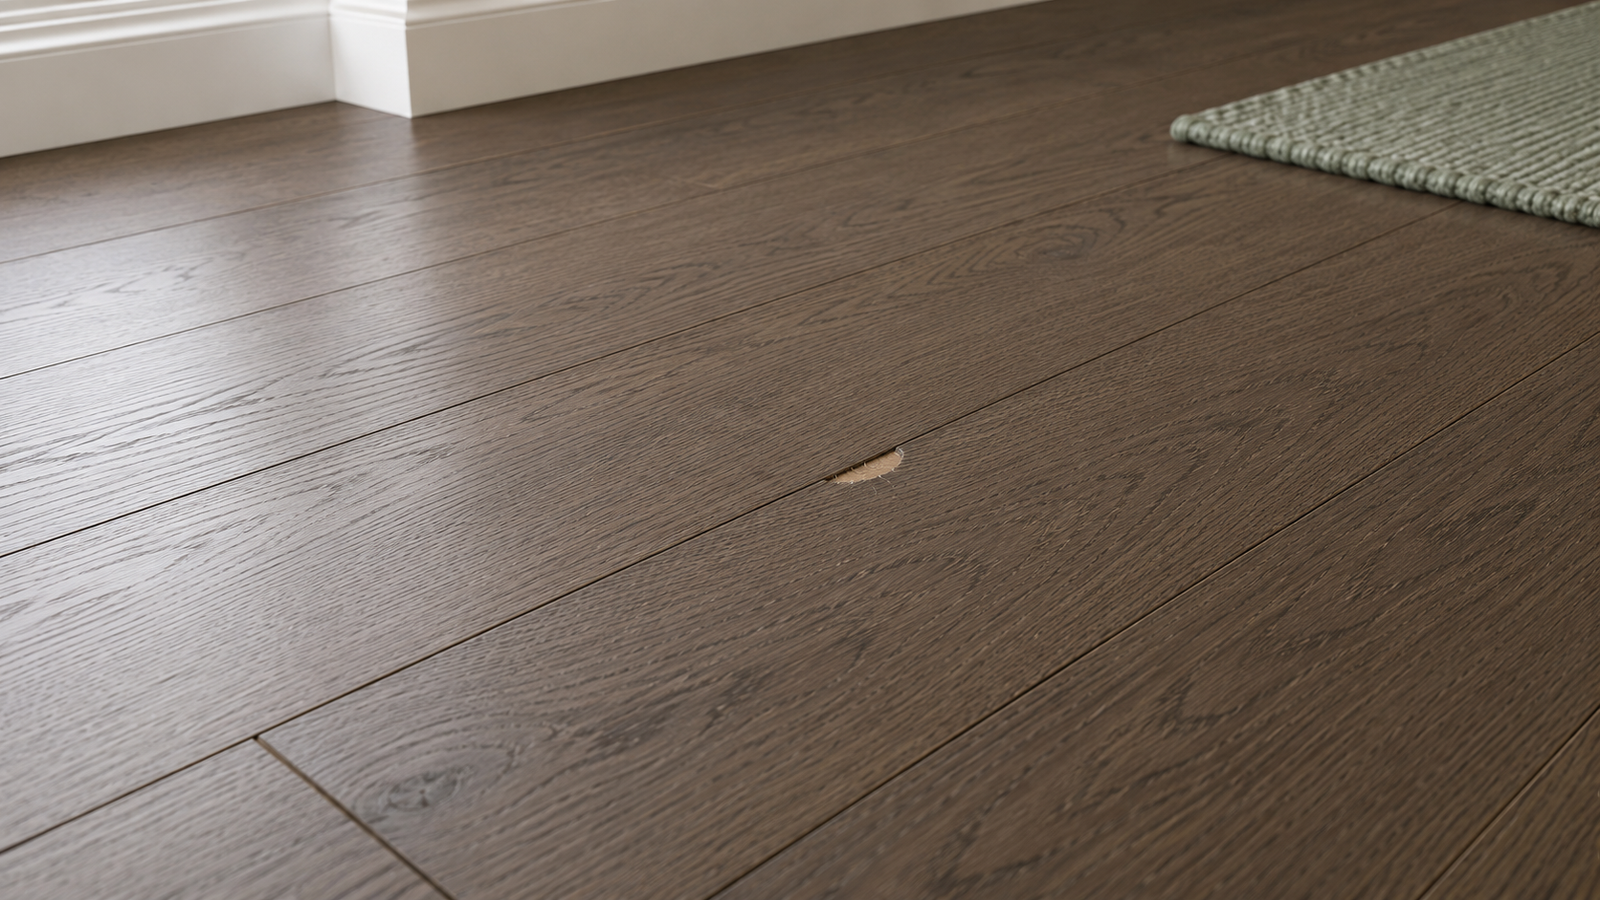
Problem Summary
Chips, missing wood, or deeper surface damage where the floor edge has been broken away.
Step-by-step repair
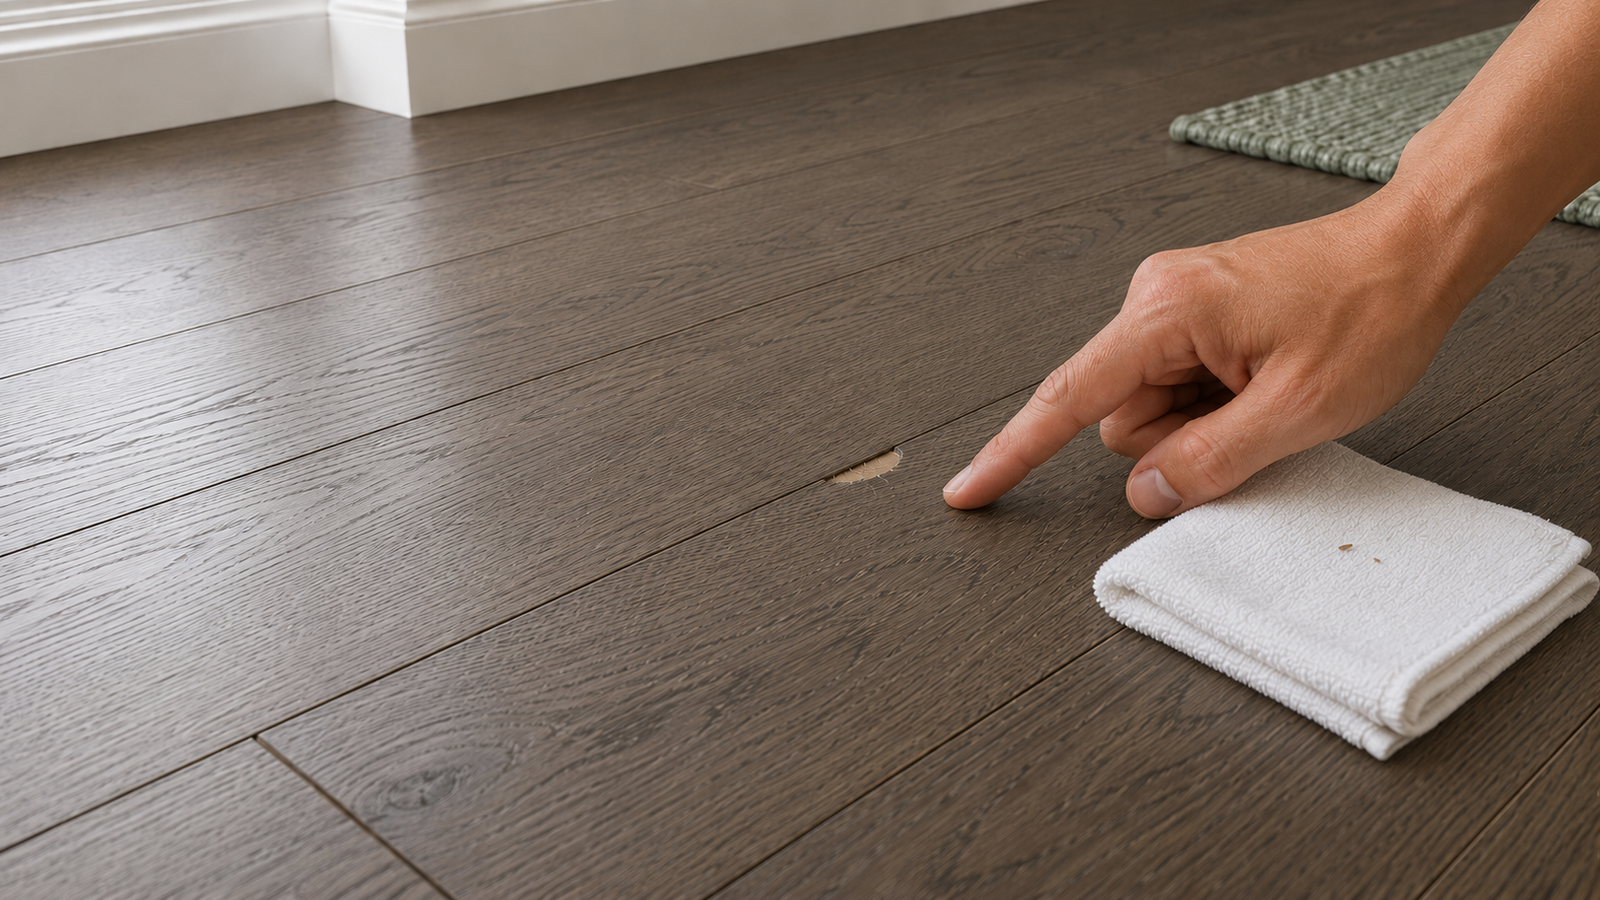
Step 1: Clean and inspect the damage
Remove loose debris and check whether the missing section is stable enough for cosmetic repair.
Checkpoint: the edge should be clean and stable before rebuilding.
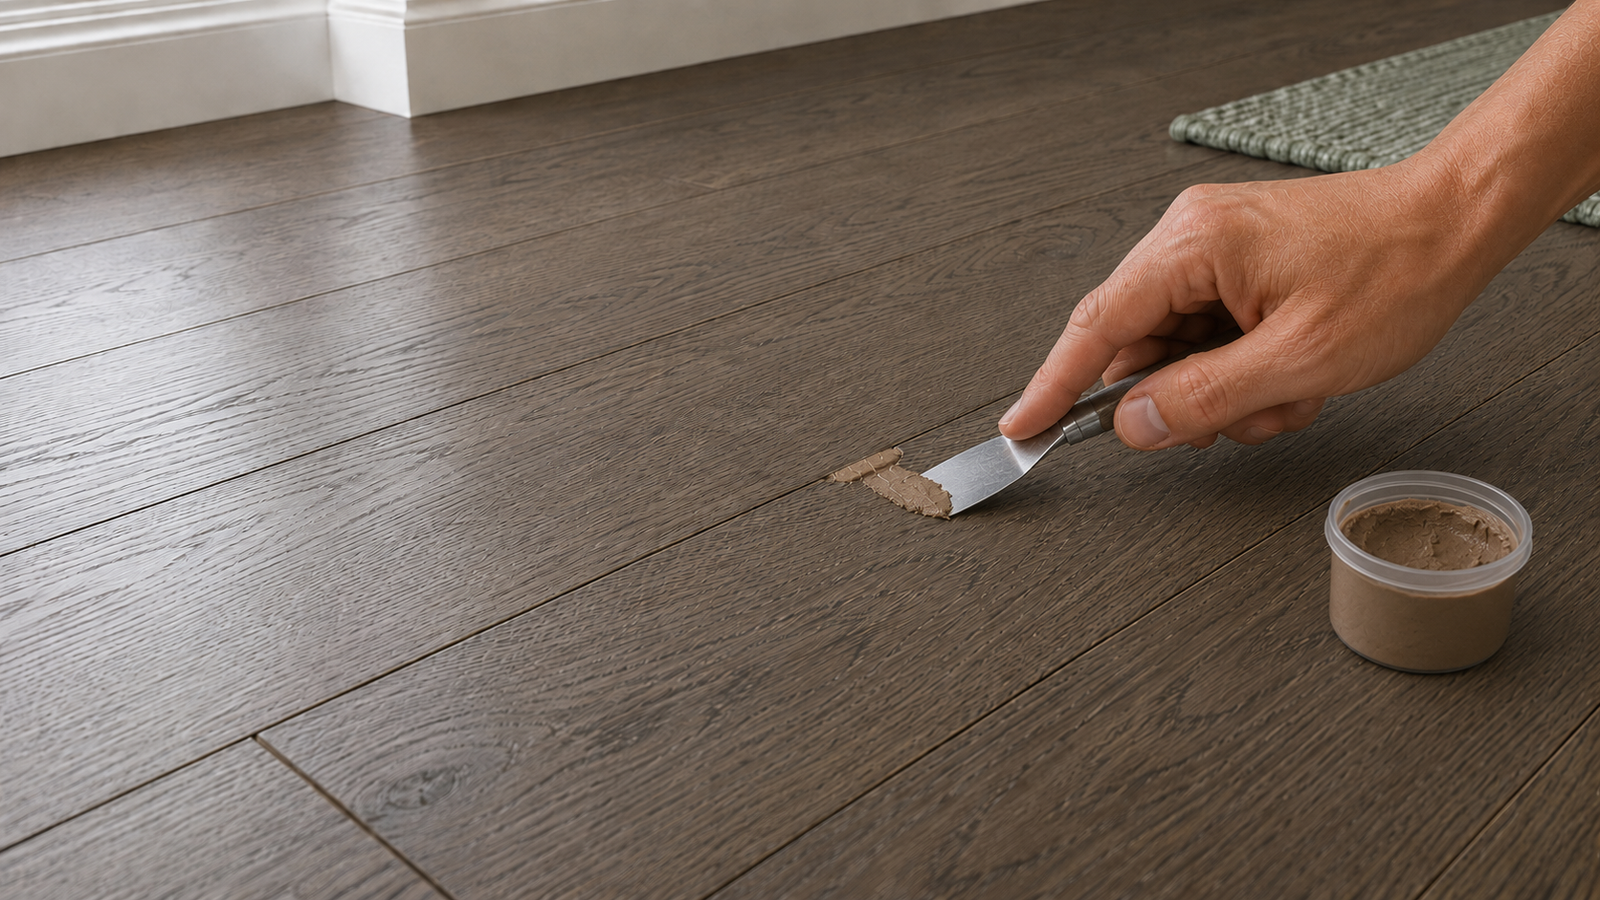
Step 2: Build the missing shape
Use compatible filler to rebuild the damaged zone and let it cure completely.
Checkpoint: the fill should cure firm and hold the rebuilt edge shape.
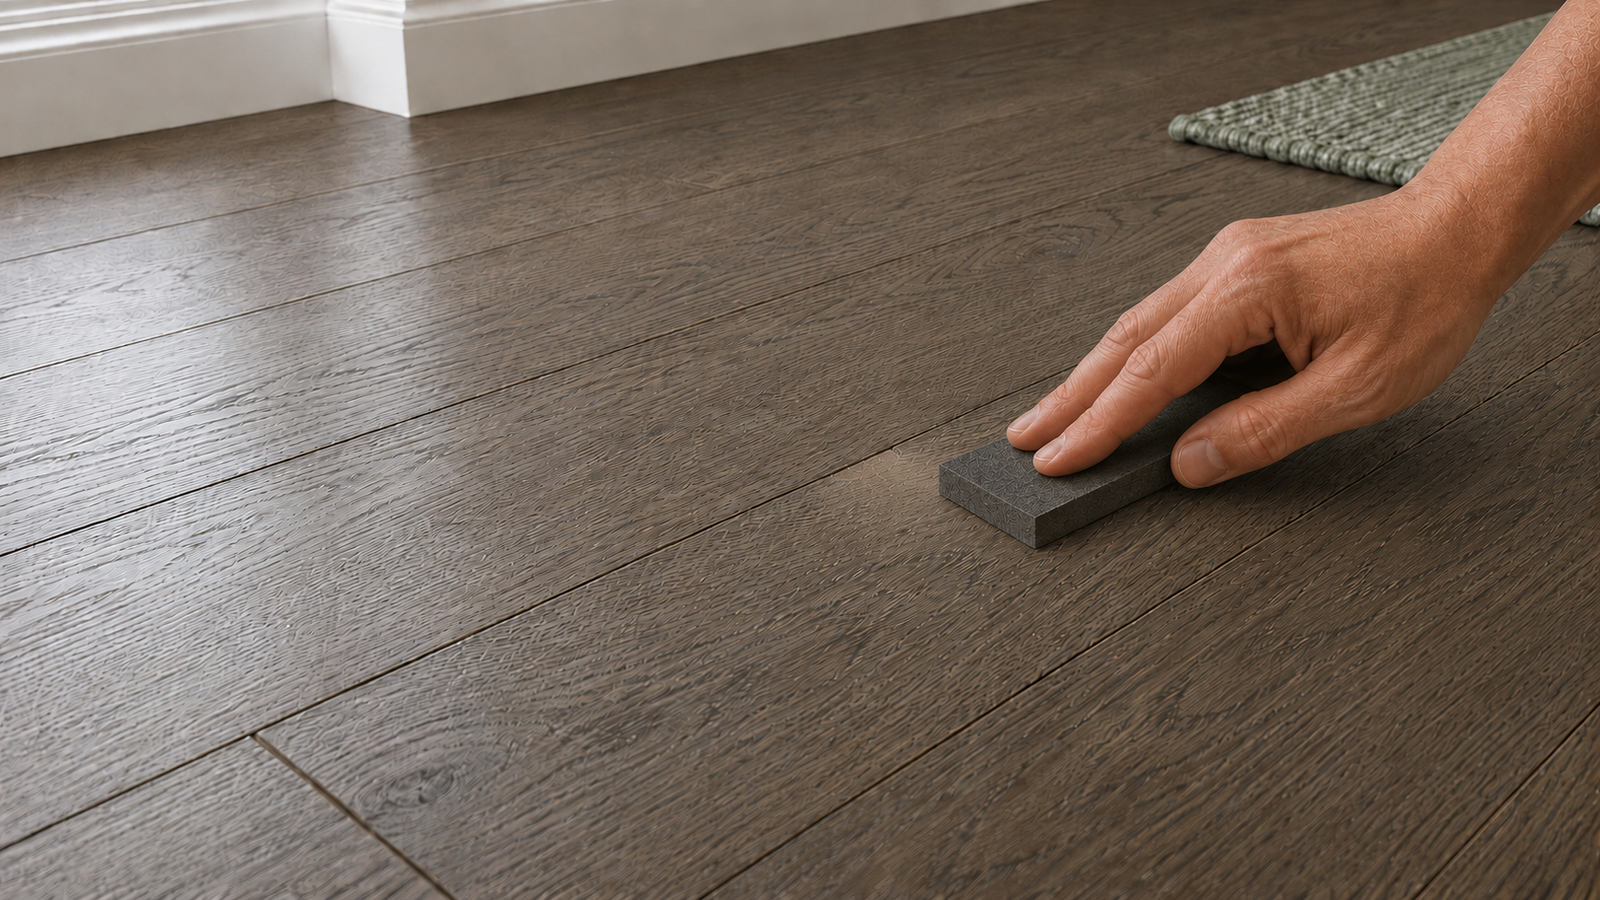
Step 3: Sand the repair flush
Sand the patch smooth so it blends with the surrounding floor surface.
Checkpoint: the patch should feel level and even before color matching.
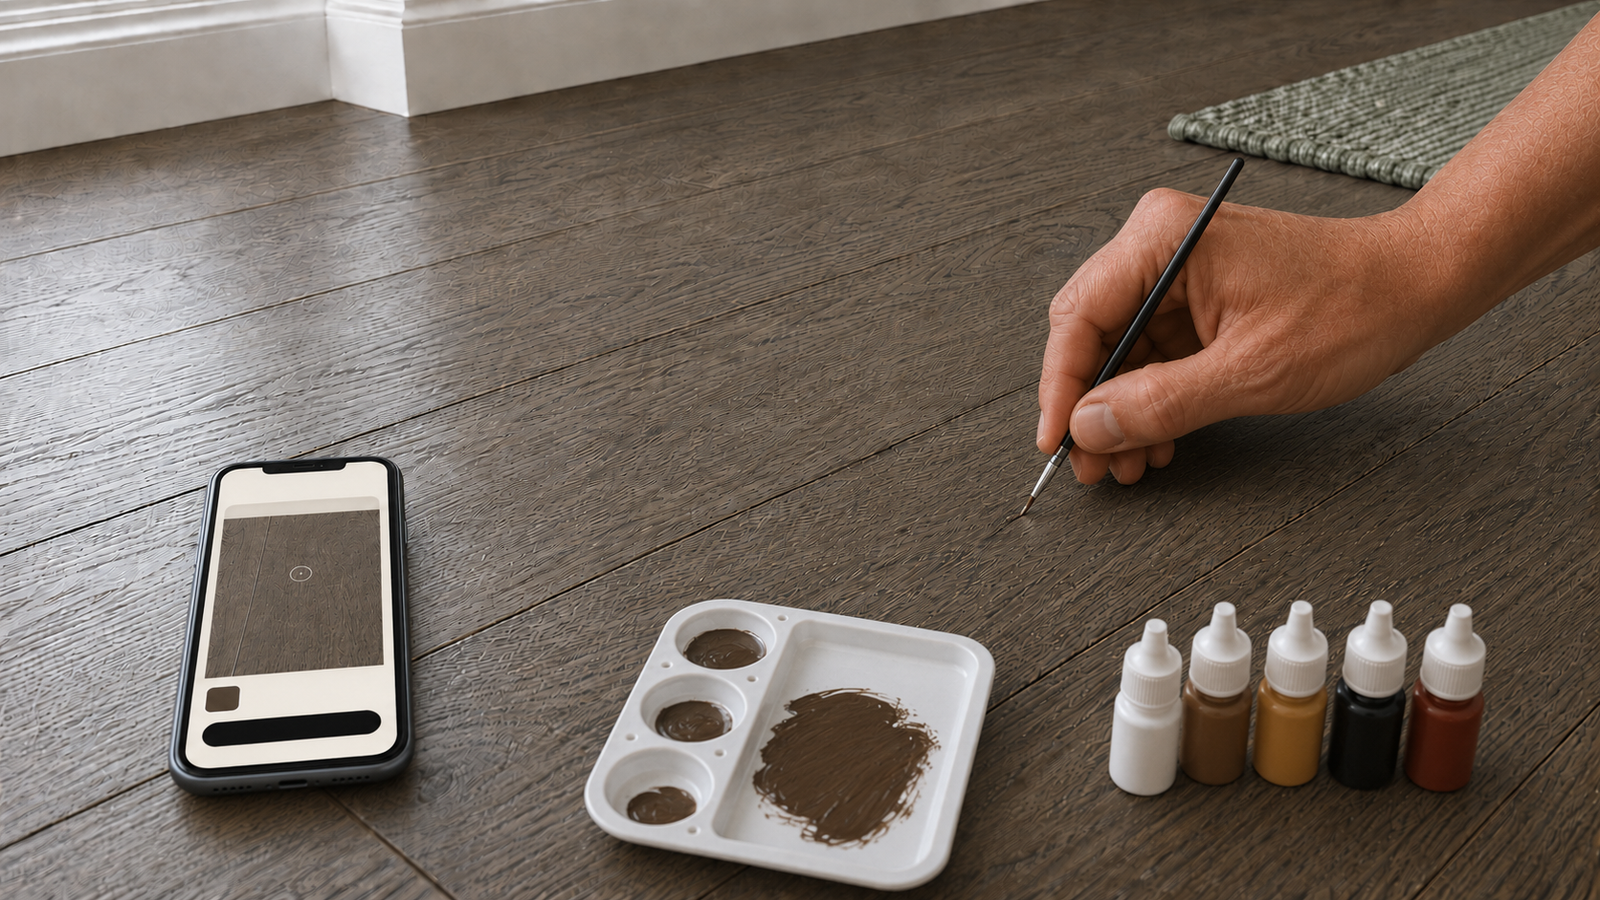
Step 4: Match the floor color
Use the ArtisanLabFix color matching workflow to blend the rebuilt area.
Checkpoint: the dry sample should blend without a strong halo or patch edge.
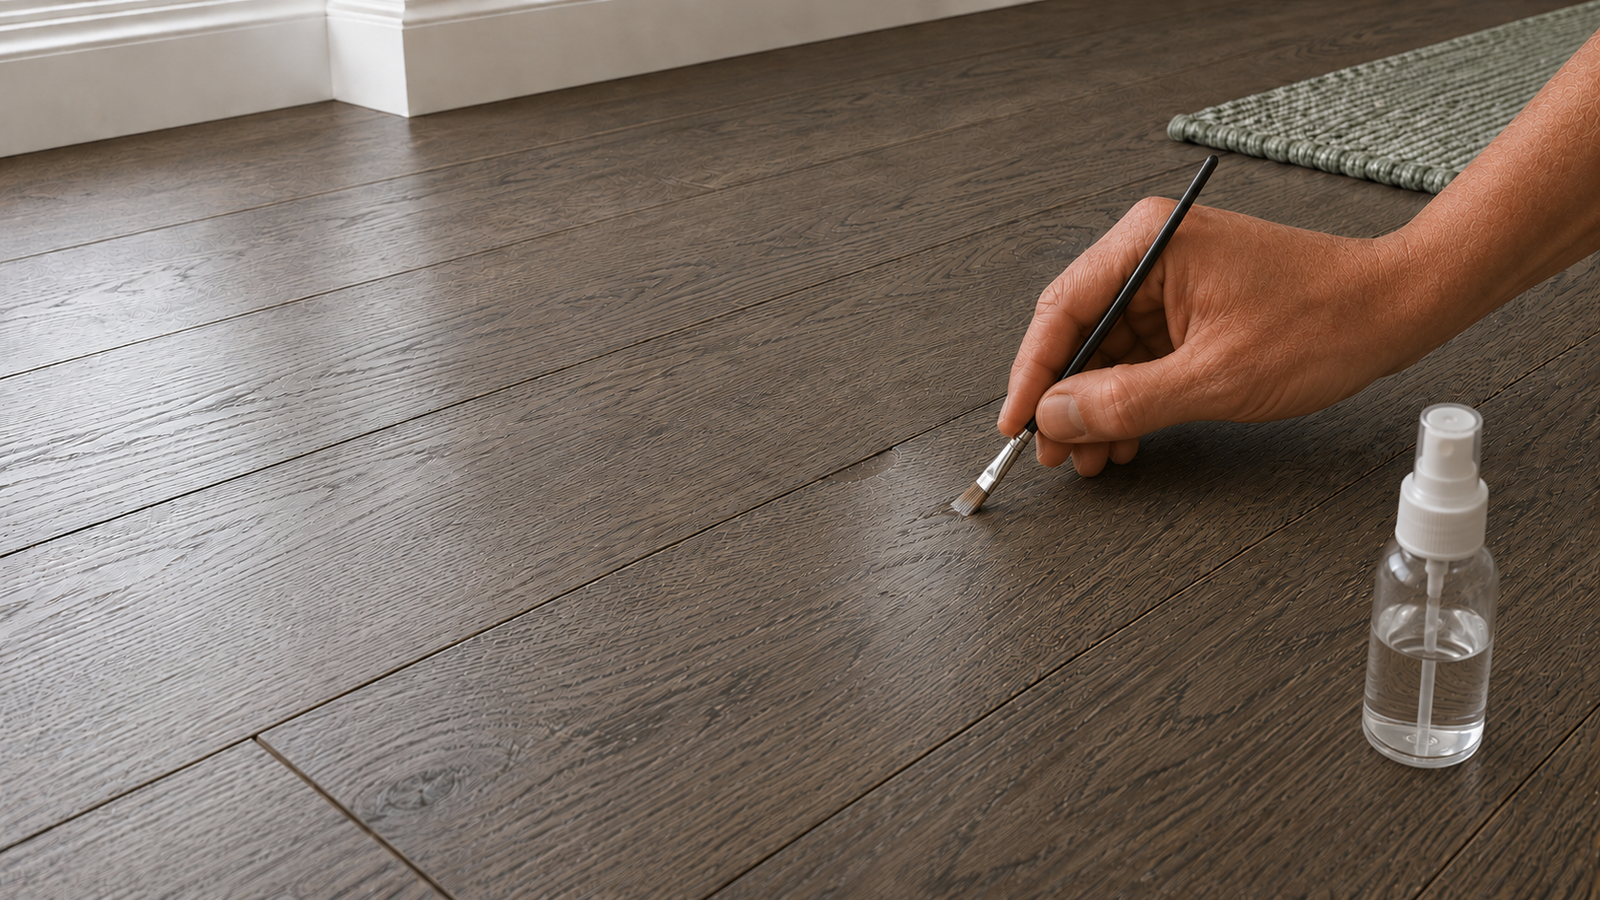
Step 5: Seal and protect
Use a thin compatible clear finish to protect the repaired spot and restore sheen.
Checkpoint: the finish should cure evenly without tacky spots or sheen mismatch.
What you usually need
- Microfiber cleaning cloth
- Wood filler
- Putty knife
- Fine sanding sponge
- Mixing palette
- Acrylic pigments
- Compatible clear finish
Want product recommendations and the ArtisanLabFix color matcher?
If the chip is large, deep, or affects an edge that keeps breaking away, the repair may be better handled professionally.