Dent Repair Protocol
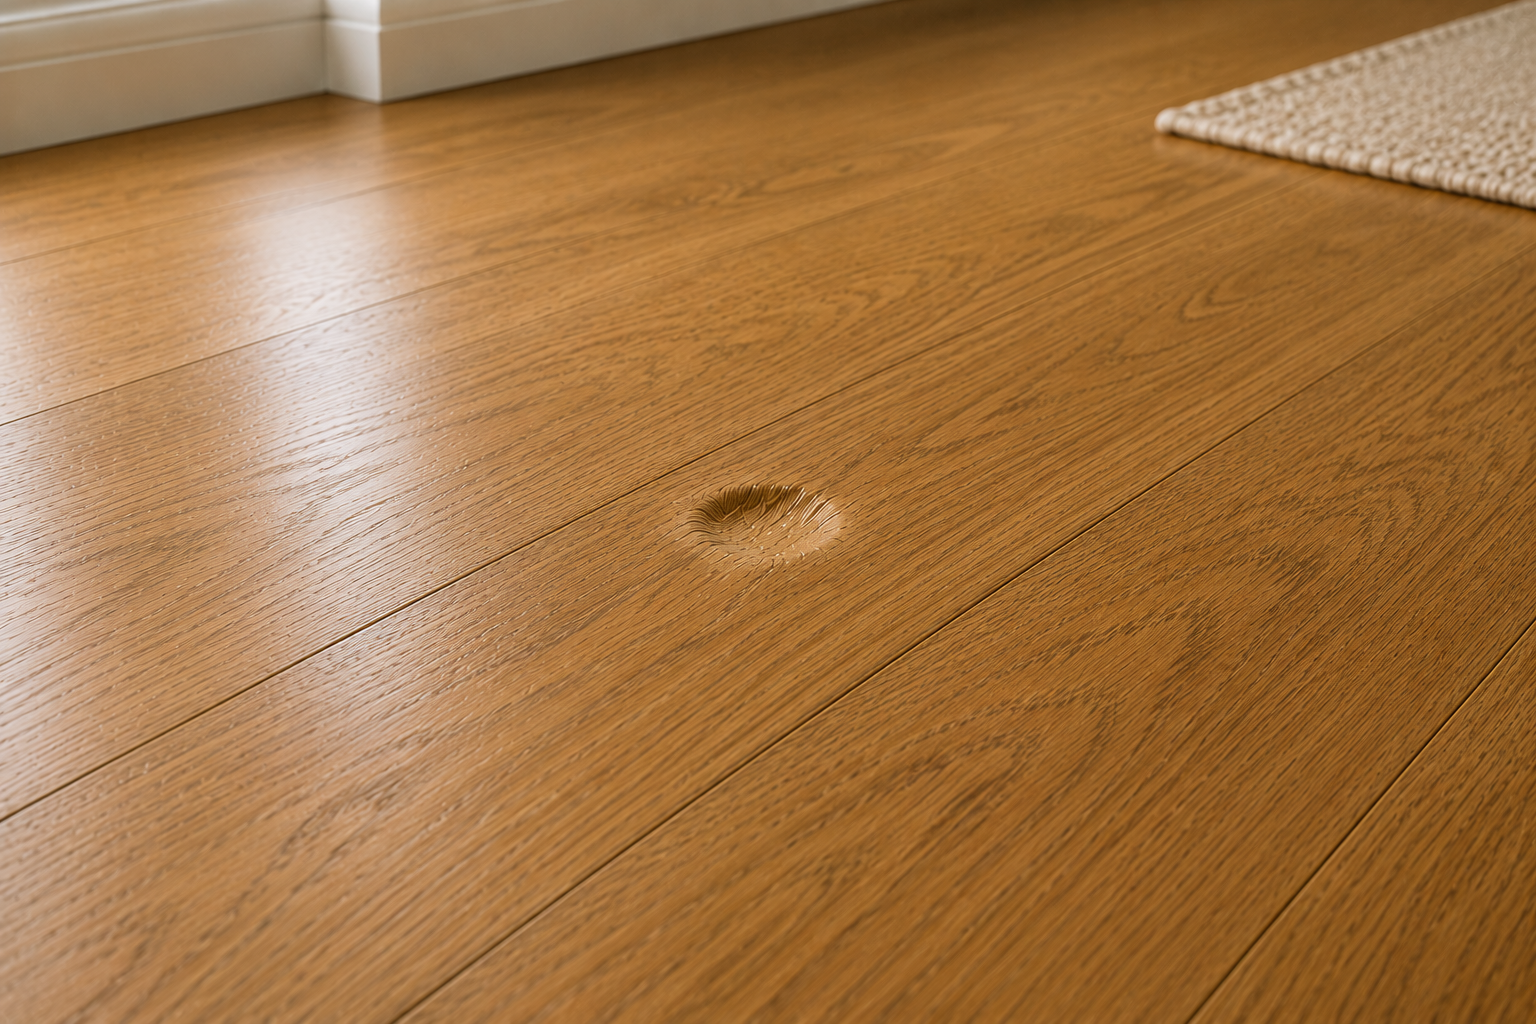
Problem Summary
A small shallow dent or compression mark in a hardwood floor. The wood fibers may be compressed but not broken.
Step-by-step repair
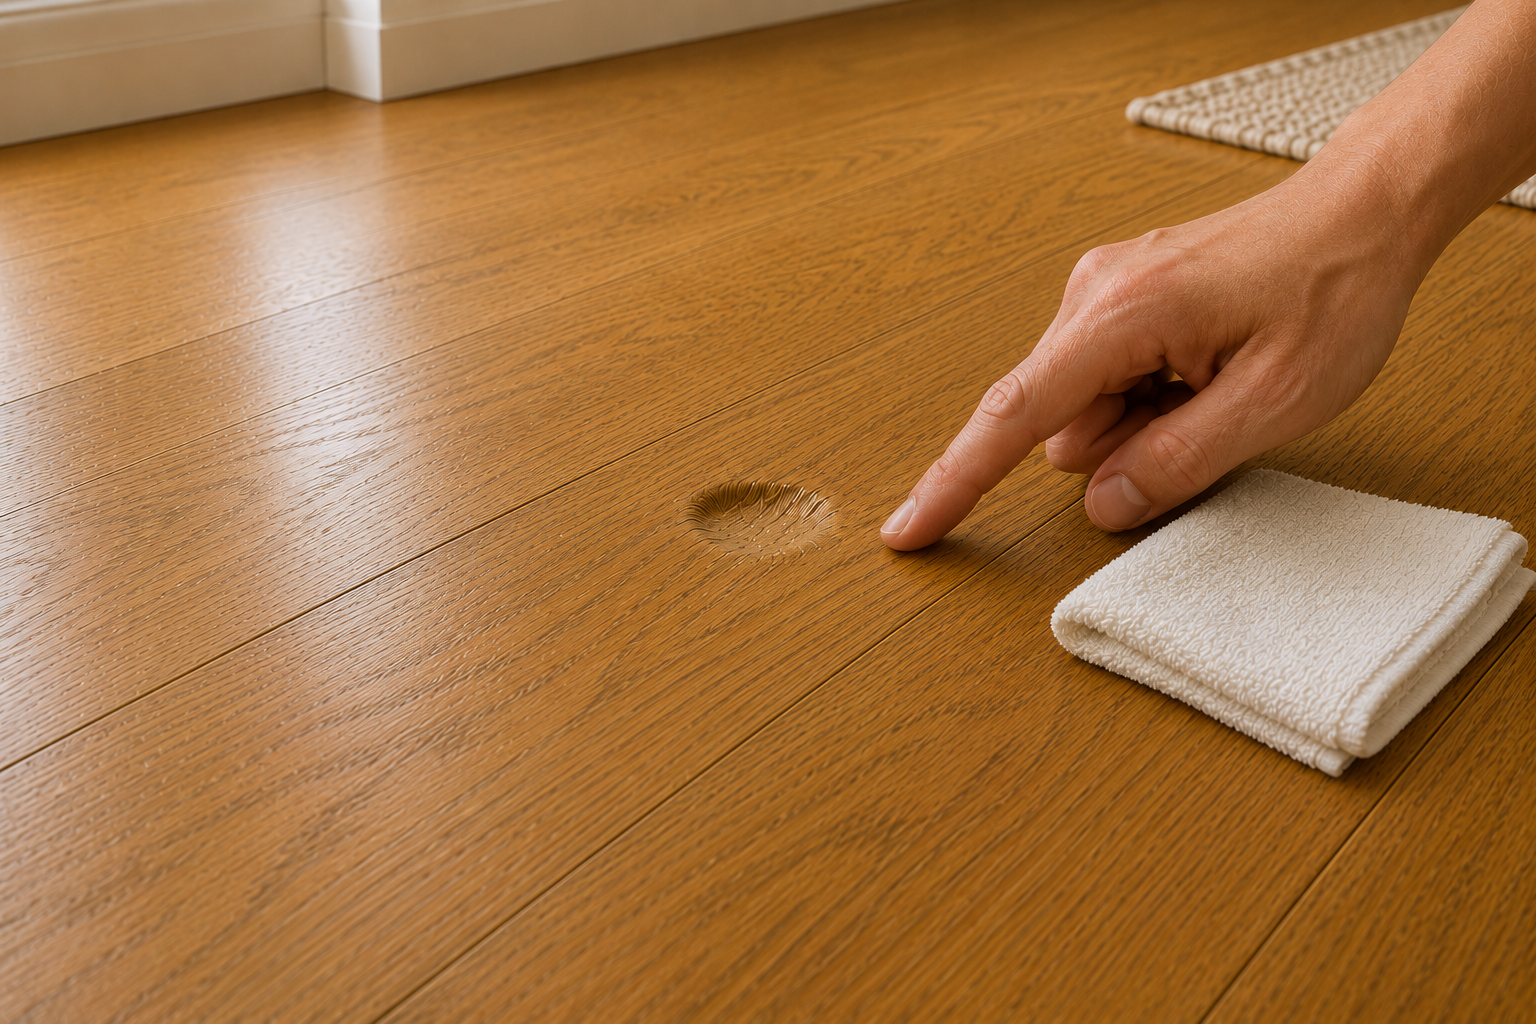
Step 1: Clean and assess
Inspect the dent, check whether the fibers are compressed or broken, and clean the repair area.
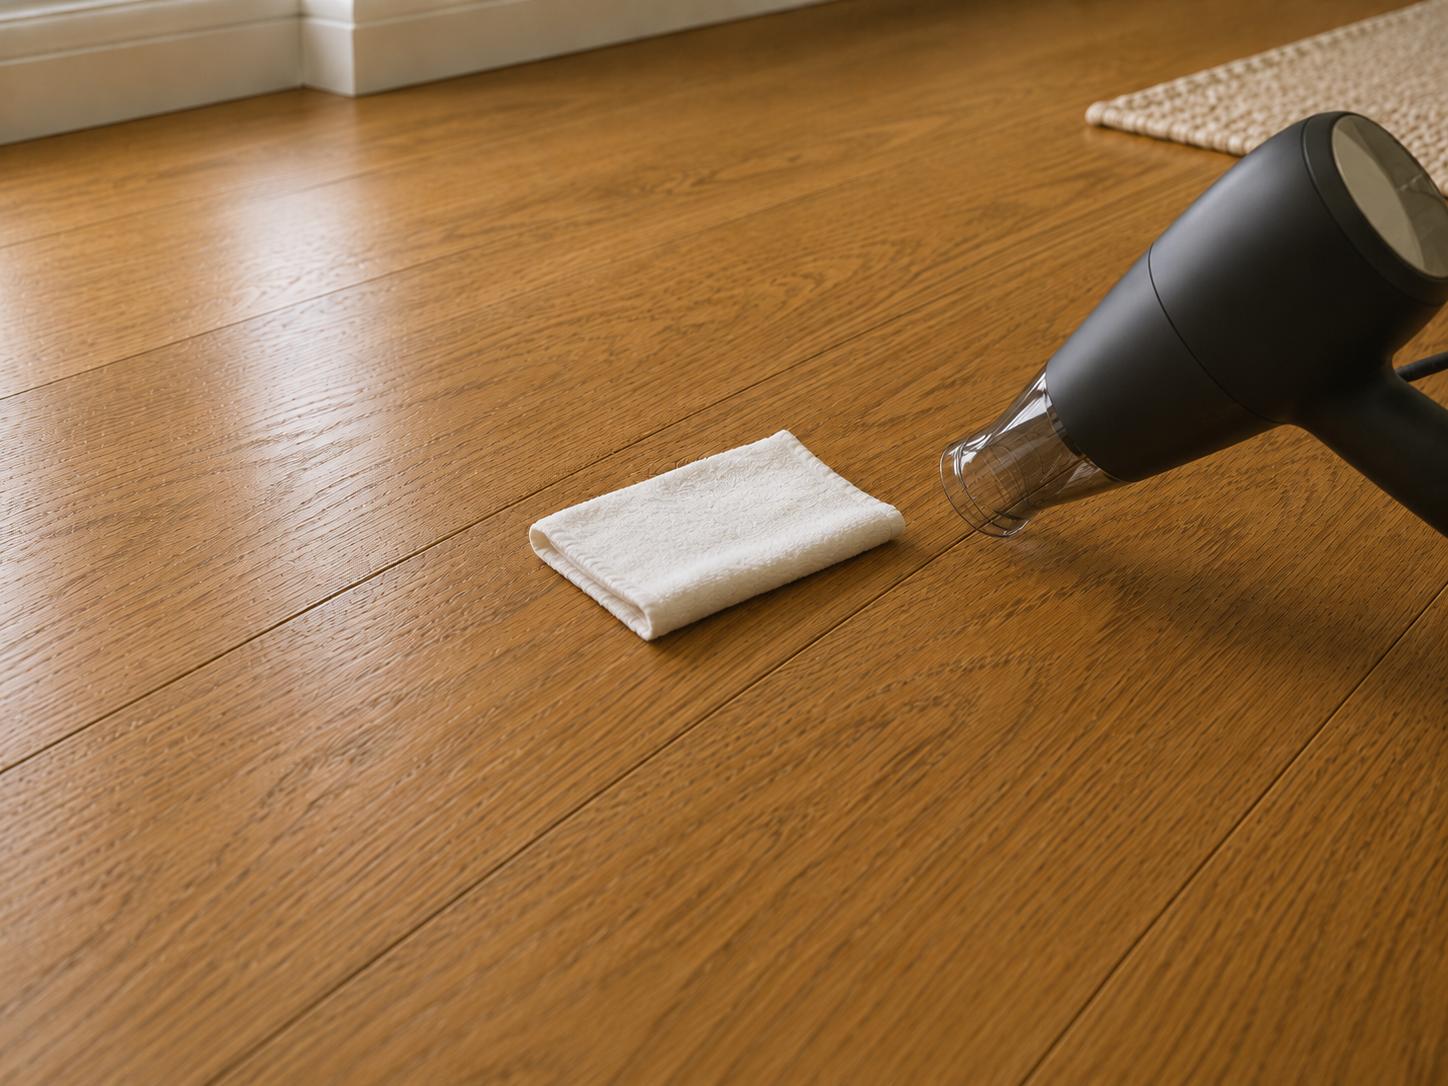
Step 2: Raise the compressed fibers
Use a damp cloth and gentle heat only if the finish allows it. Recheck after the area dries.
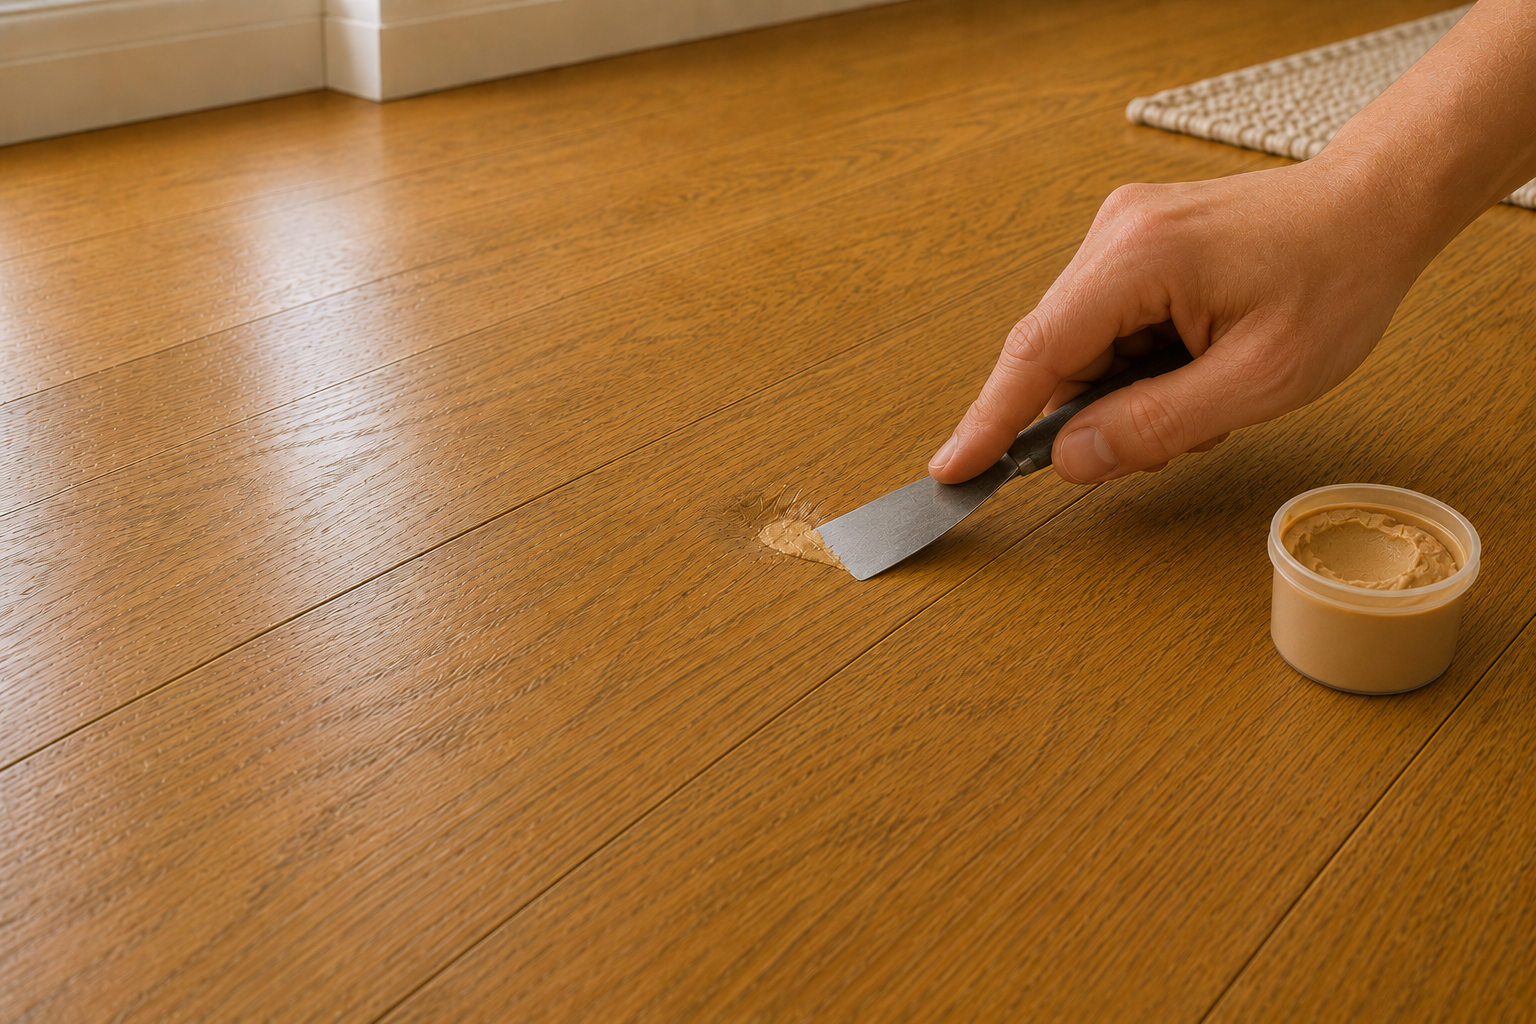
Step 3: Fill what does not lift
If the dent remains, use wood filler and let it cure fully before sanding.
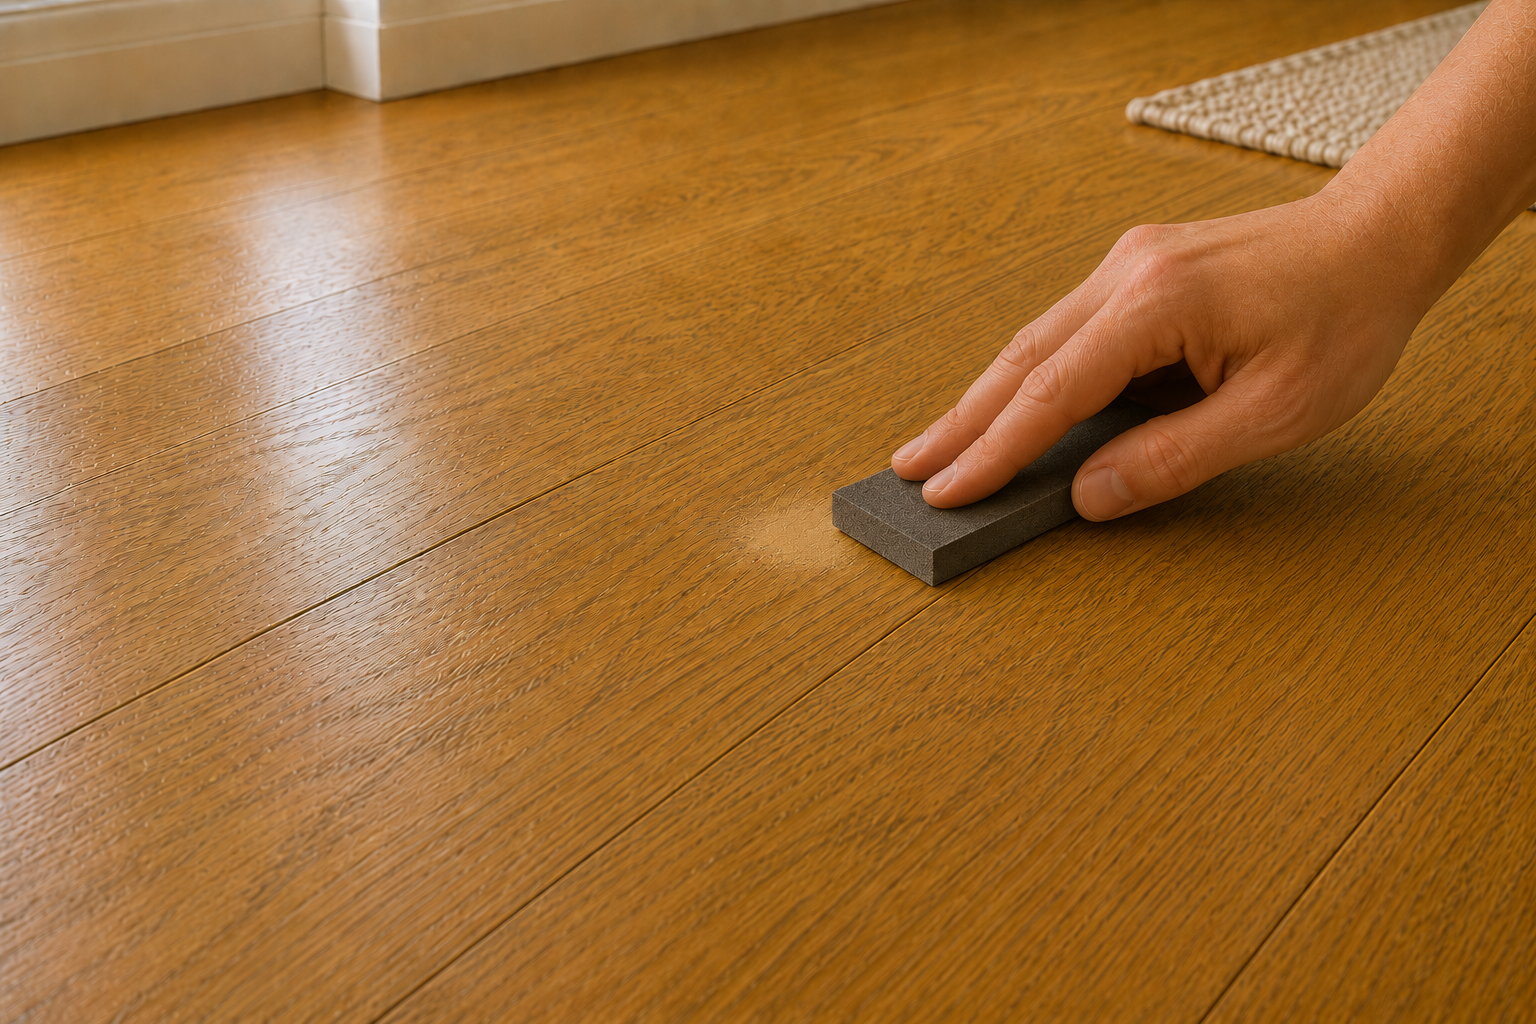
Step 4: Sand the repair smooth
Sand only the repaired area until the patch is flush with the surrounding floor.
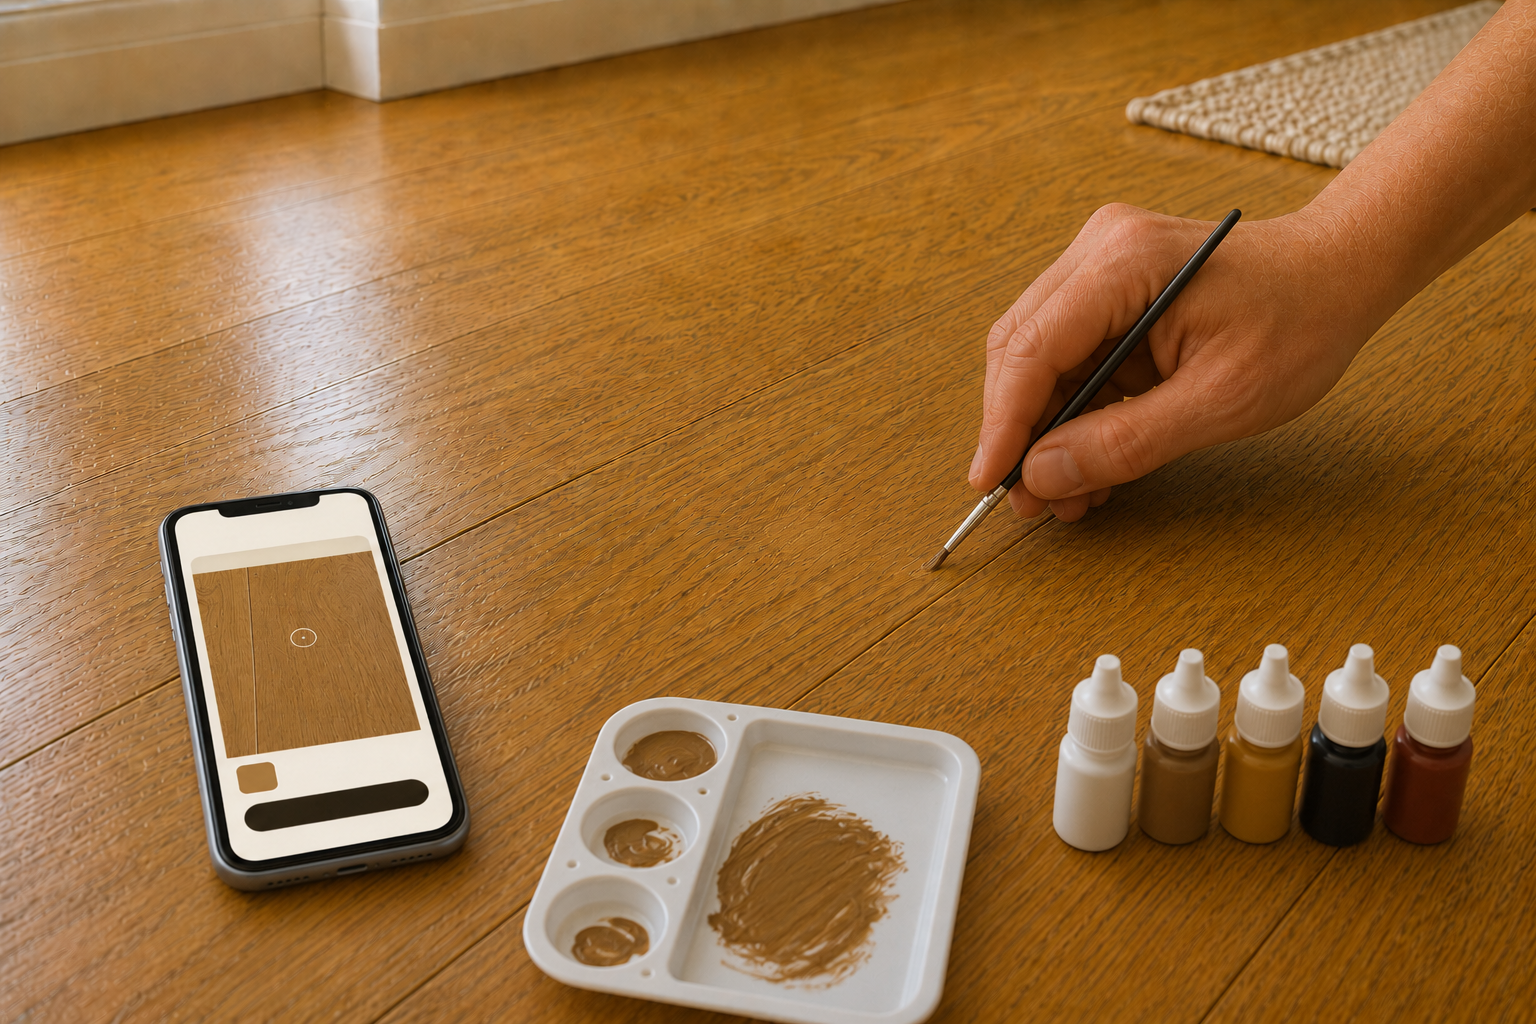
Step 5: Match the floor color
Use the ArtisanLabFix color matching workflow to blend the filled area with the surrounding wood.
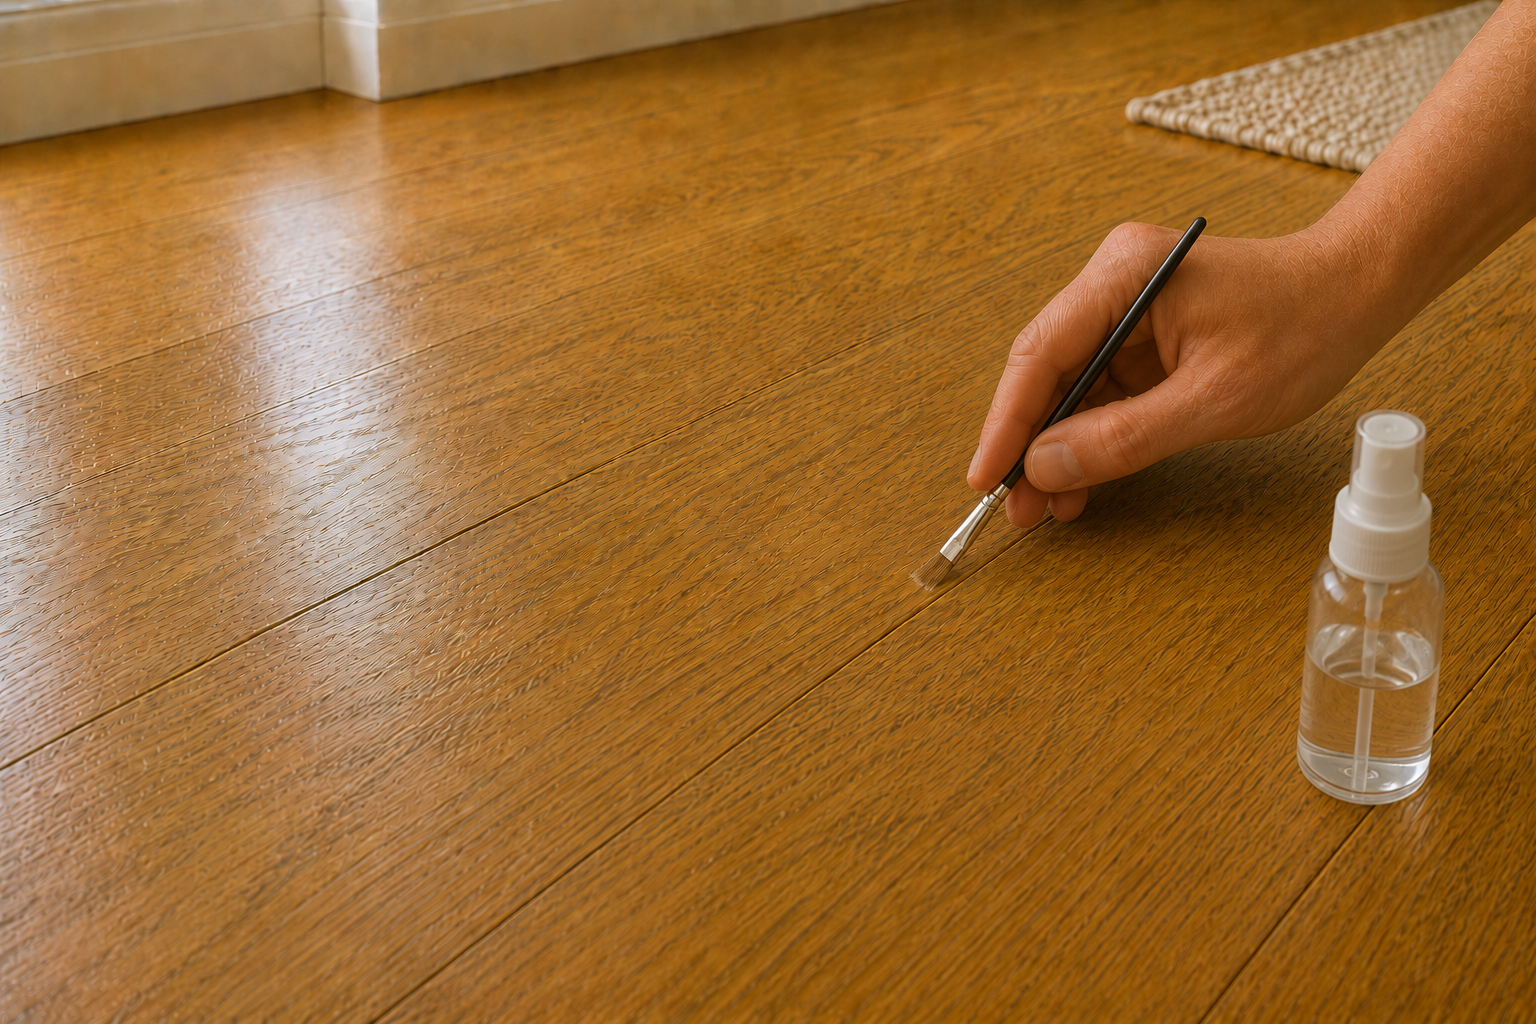
Step 6: Seal and protect
Apply a thin compatible clear finish that matches the existing sheen.
What you usually need
- Microfiber cleaning cloth
- Damp cloth / gentle heat tool
- Wood filler
- Putty knife
- Fine sanding sponge
- Mixing palette
- Acrylic pigments
- Compatible clear finish
Want product recommendations and the ArtisanLabFix color matcher?
If the board is cracked, soft, or the dent stays deep after gentle lifting, cosmetic repair may not be enough.