Mold / Mildew Protocol
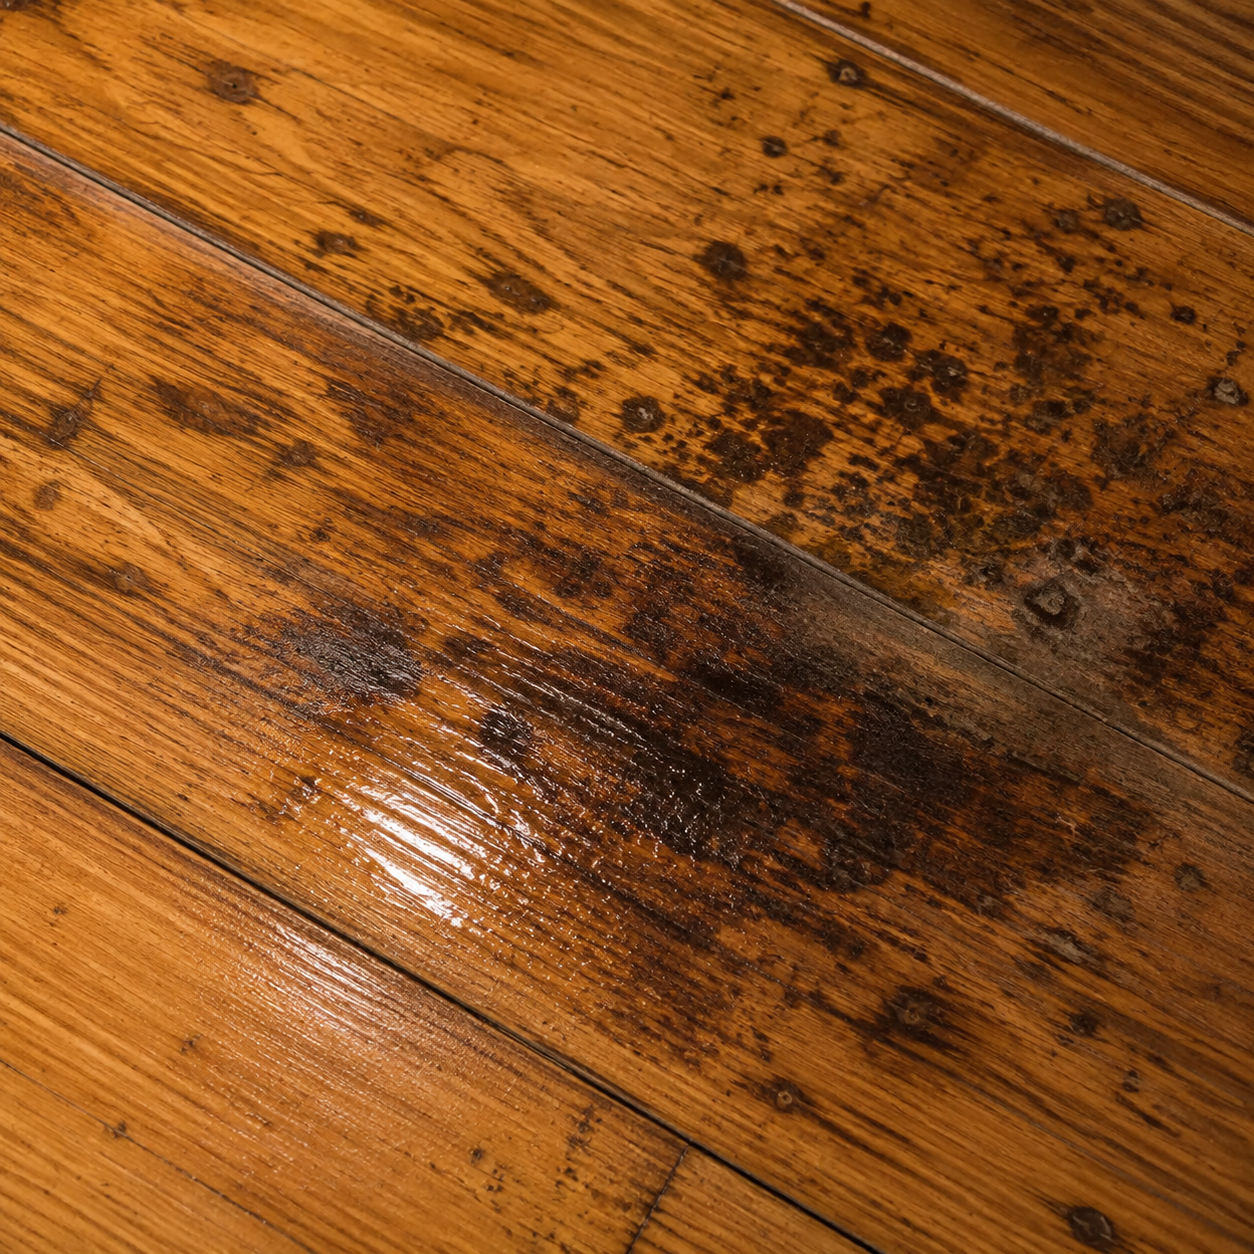
Problem Summary
Black spots or mildew on the floor surface. If the odor is strong, the wood is soft, or growth keeps returning, cosmetic repair should stop.
Step-by-step repair
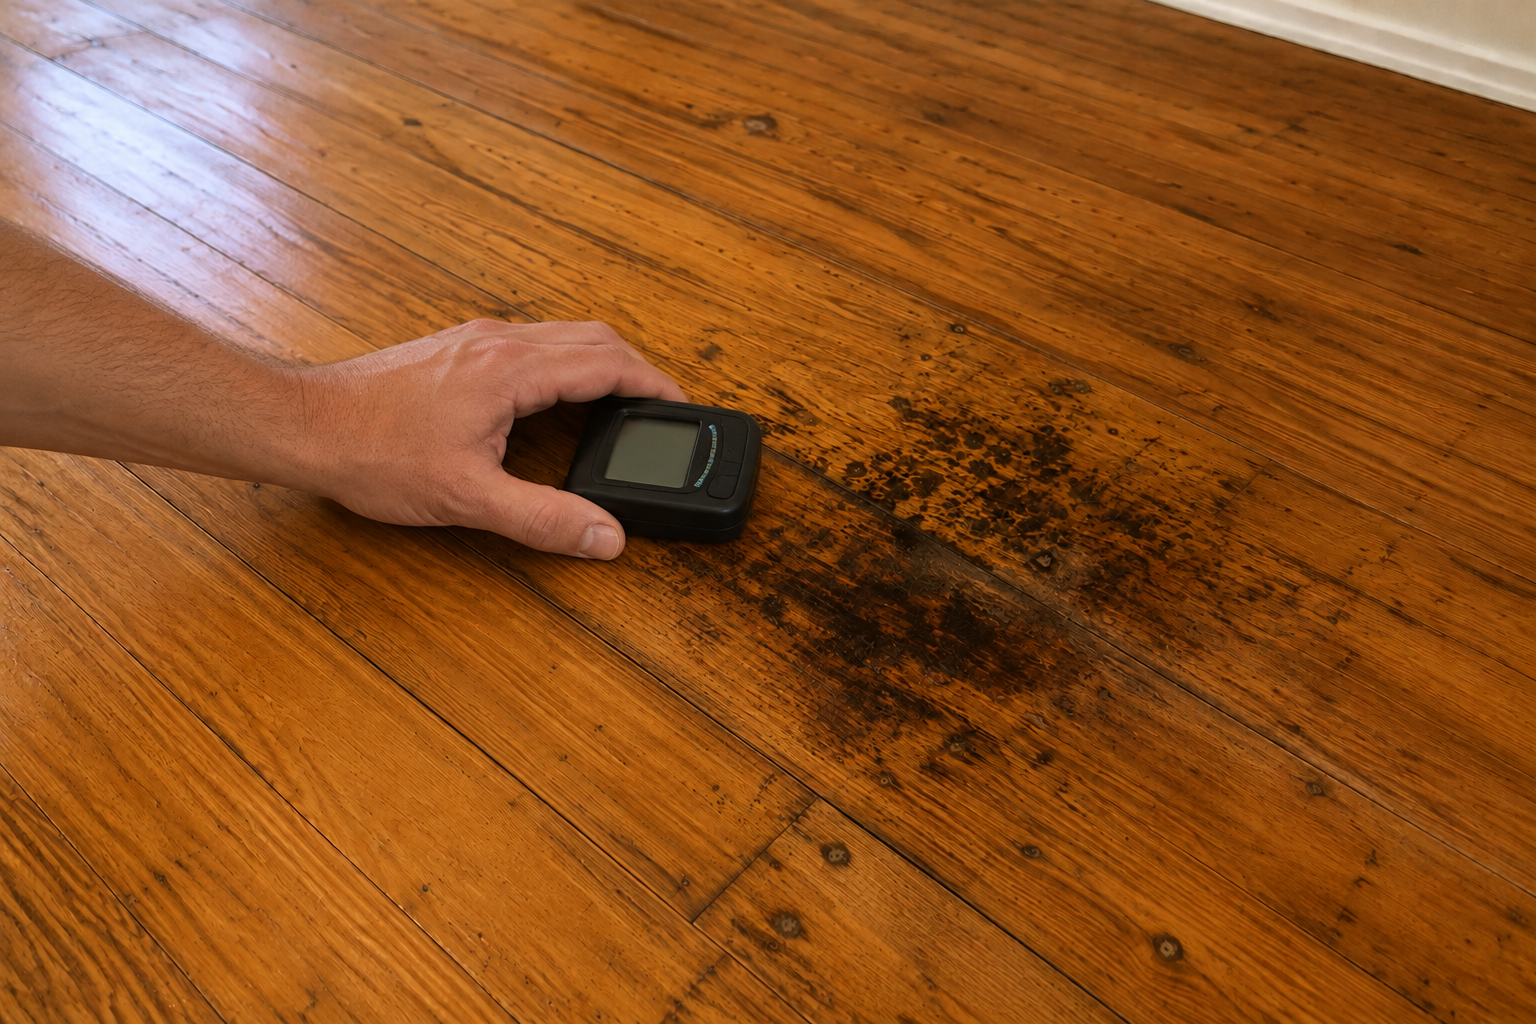
Step 1: Inspect the moisture source
Find and control hidden moisture or repeated dampness before any cleanup starts.
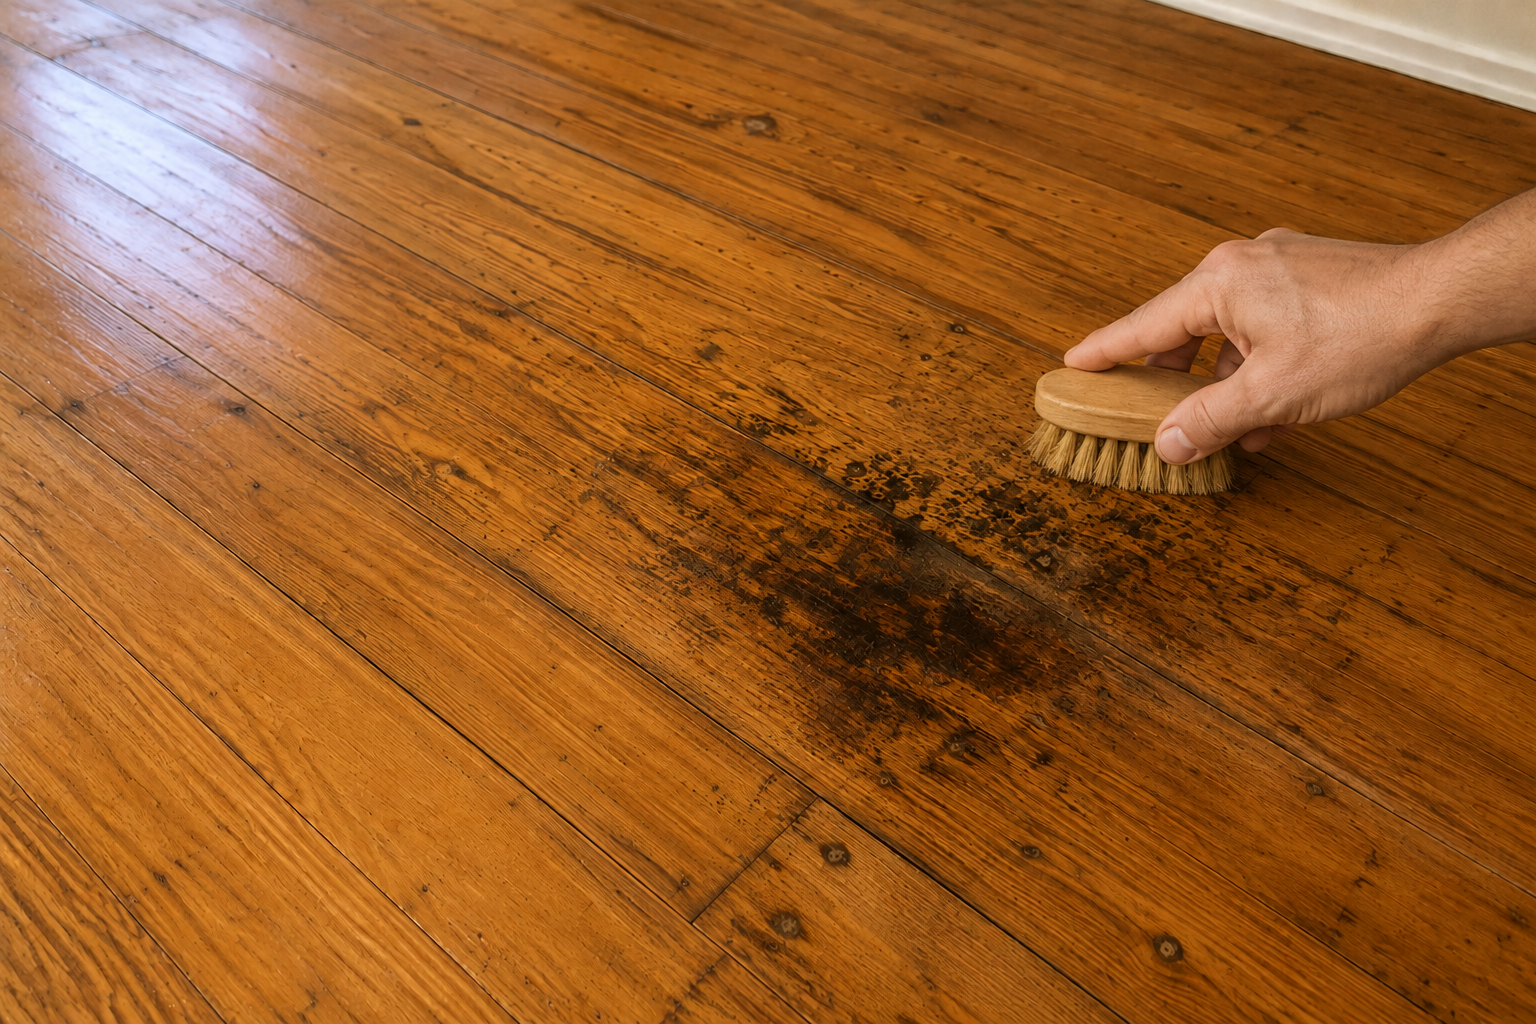
Step 2: Remove the surface mildew
Brush or clean loose growth carefully, then inspect whether the surface is actually improving.
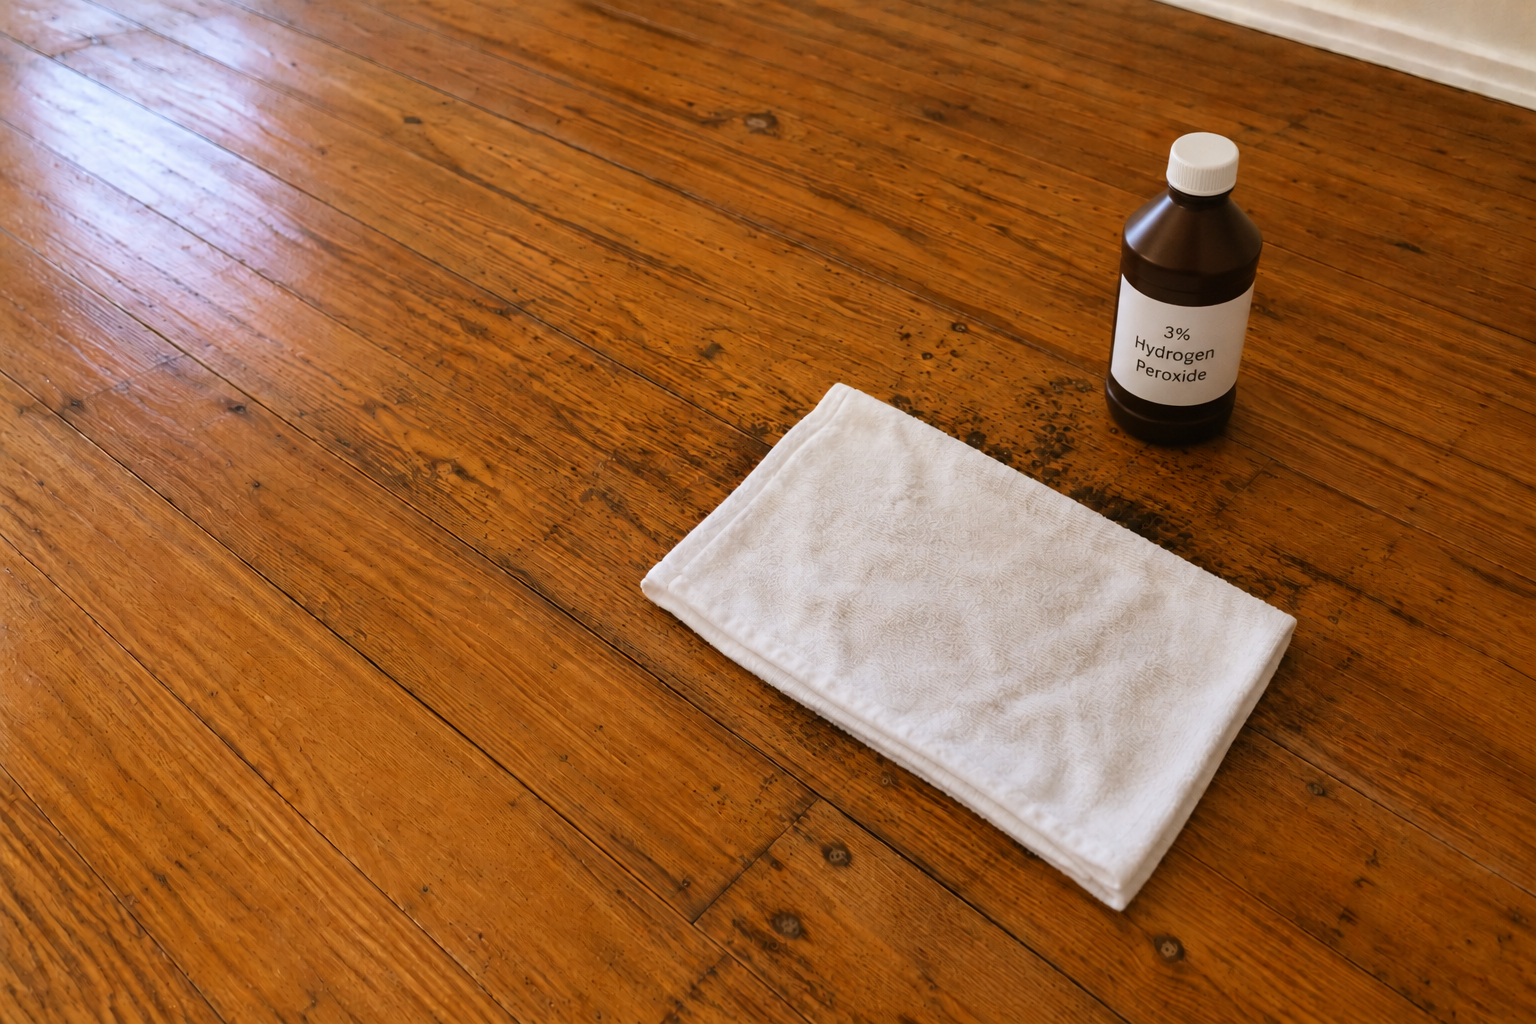
Step 3: Treat the discoloration
Use a verified treatment for the remaining stain and only repeat if the floor is still safe to treat.

Step 4: Match the floor color
Once the area is clean and dry, use the ArtisanLabFix color matching workflow to reduce the visible stain.
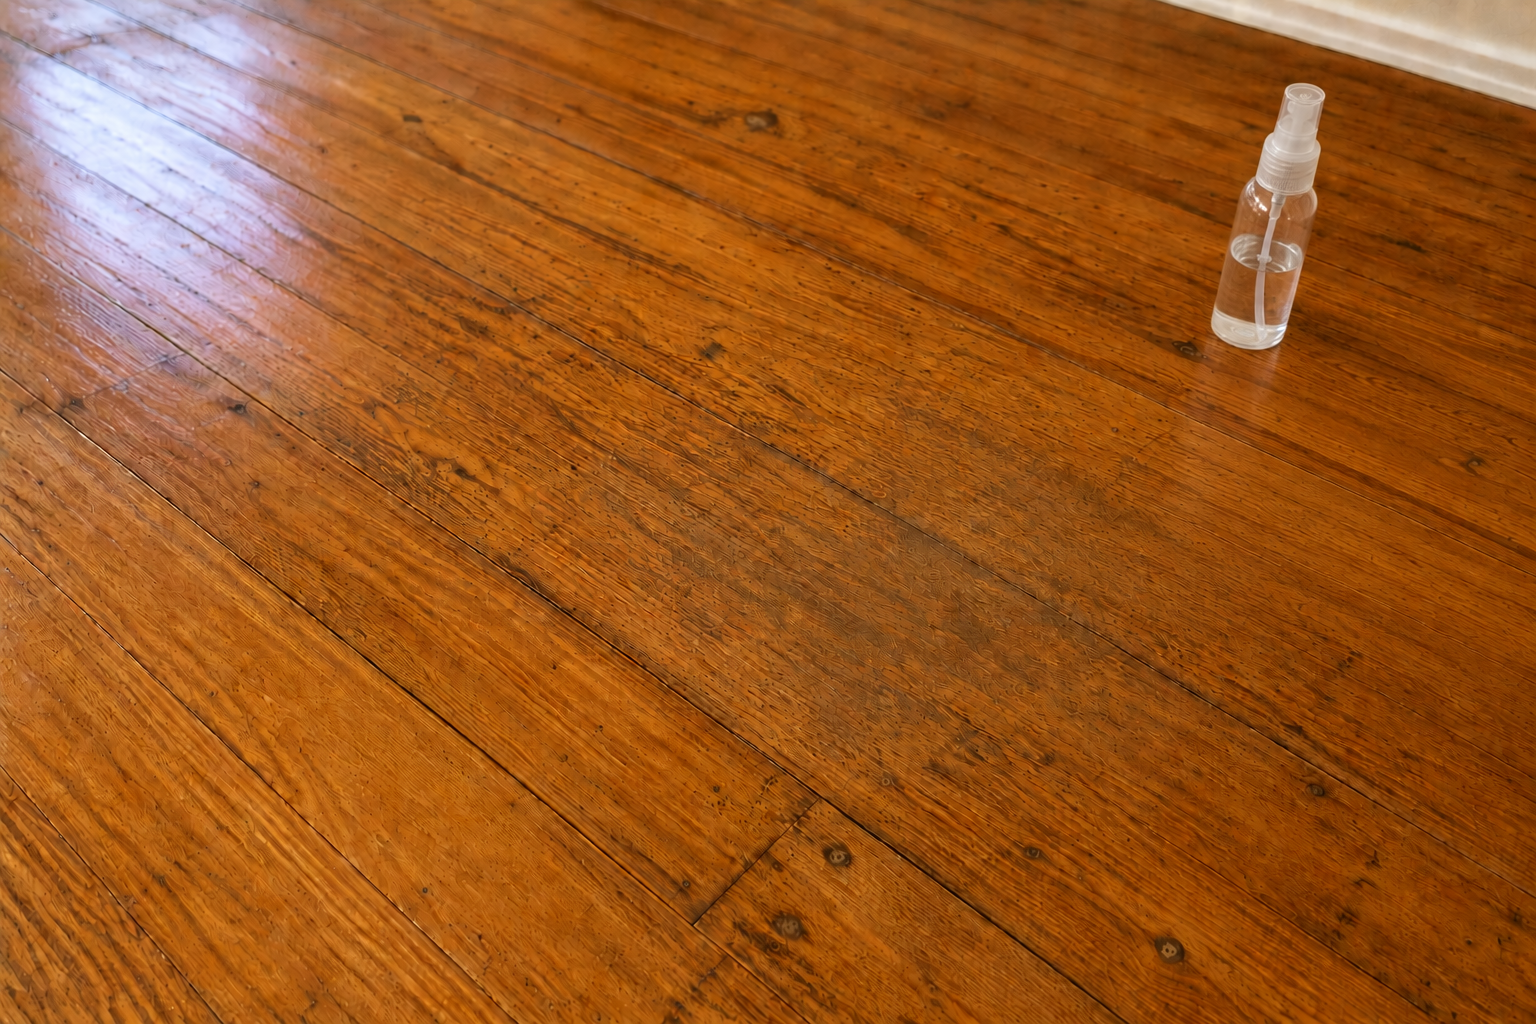
Step 5: Restore and protect the finish if needed
Apply a thin compatible finish only after remediation is complete and the wood is fully dry and stable.
What you usually need
- Pinless moisture meter
- Floor drying fan / air mover
- Soft brush
- Hydrogen peroxide
- White cloth or paper towel
- Mixing palette
- Acrylic pigments
- Compatible clear finish
Want product recommendations and the ArtisanLabFix color matcher?
Do not paint or seal over active mold. If moisture or odor remains, the problem is bigger than a cosmetic repair.