Scratch Repair Protocol
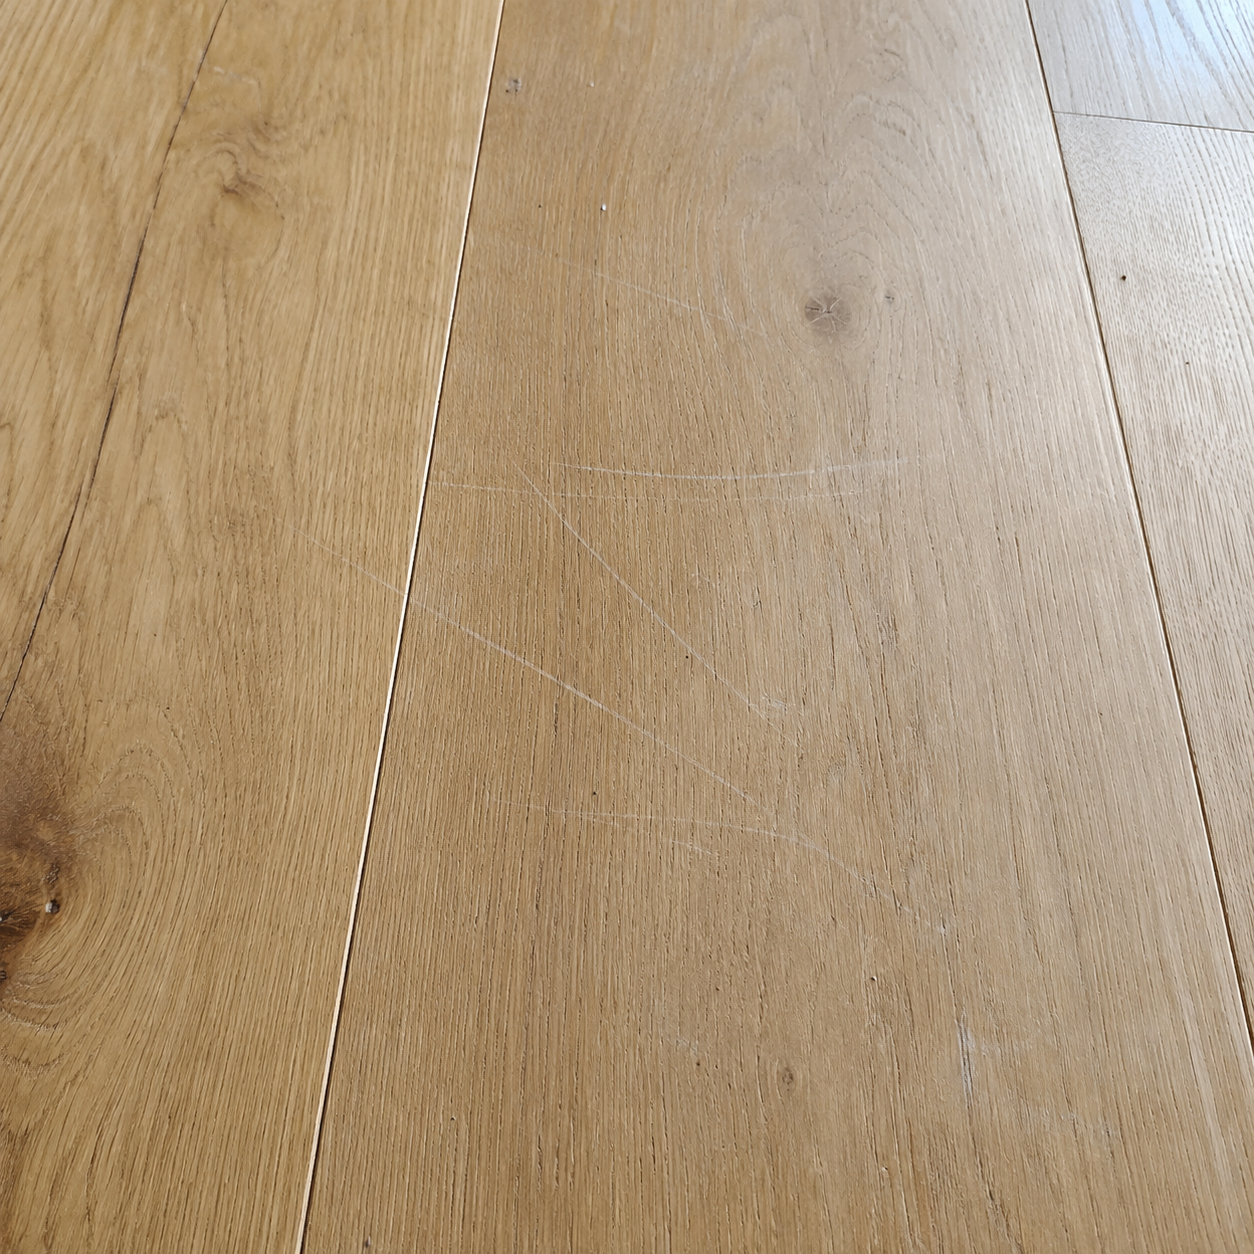
Problem Summary
Thin lines or surface marks on the floor finish. If the scratch can still be felt with a fingernail, follow the full repair path below.
Step-by-step repair
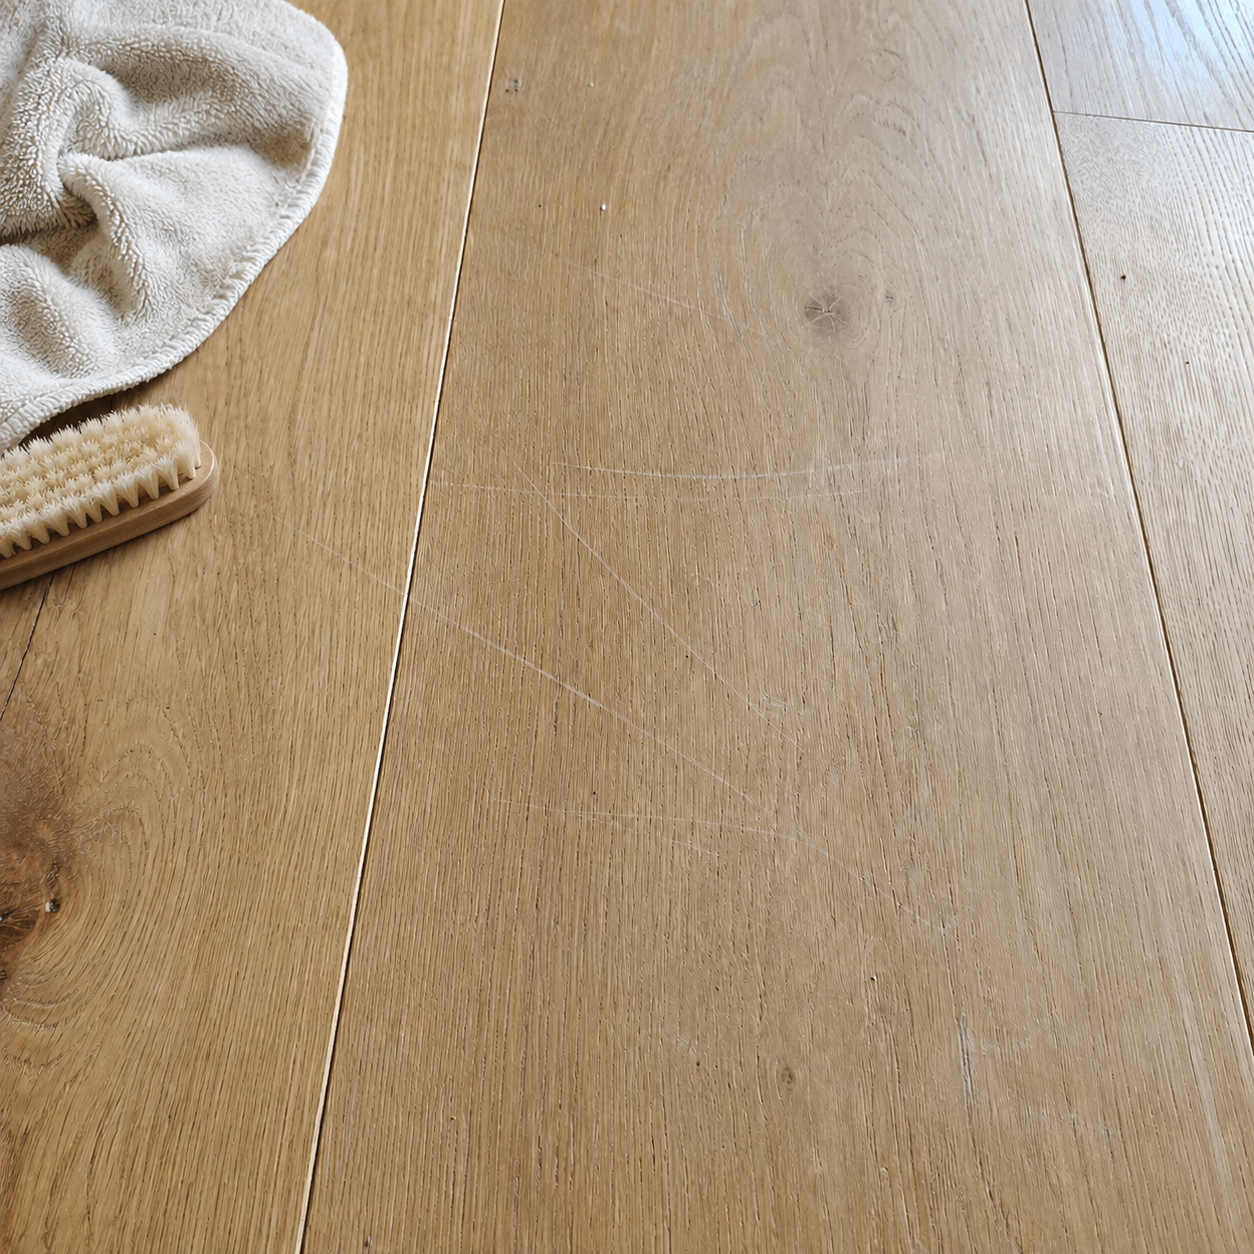
Step 1: Clean the scratch
Remove dust and residue so the repair materials can bond evenly. Inspect the scratch in daylight before moving on.
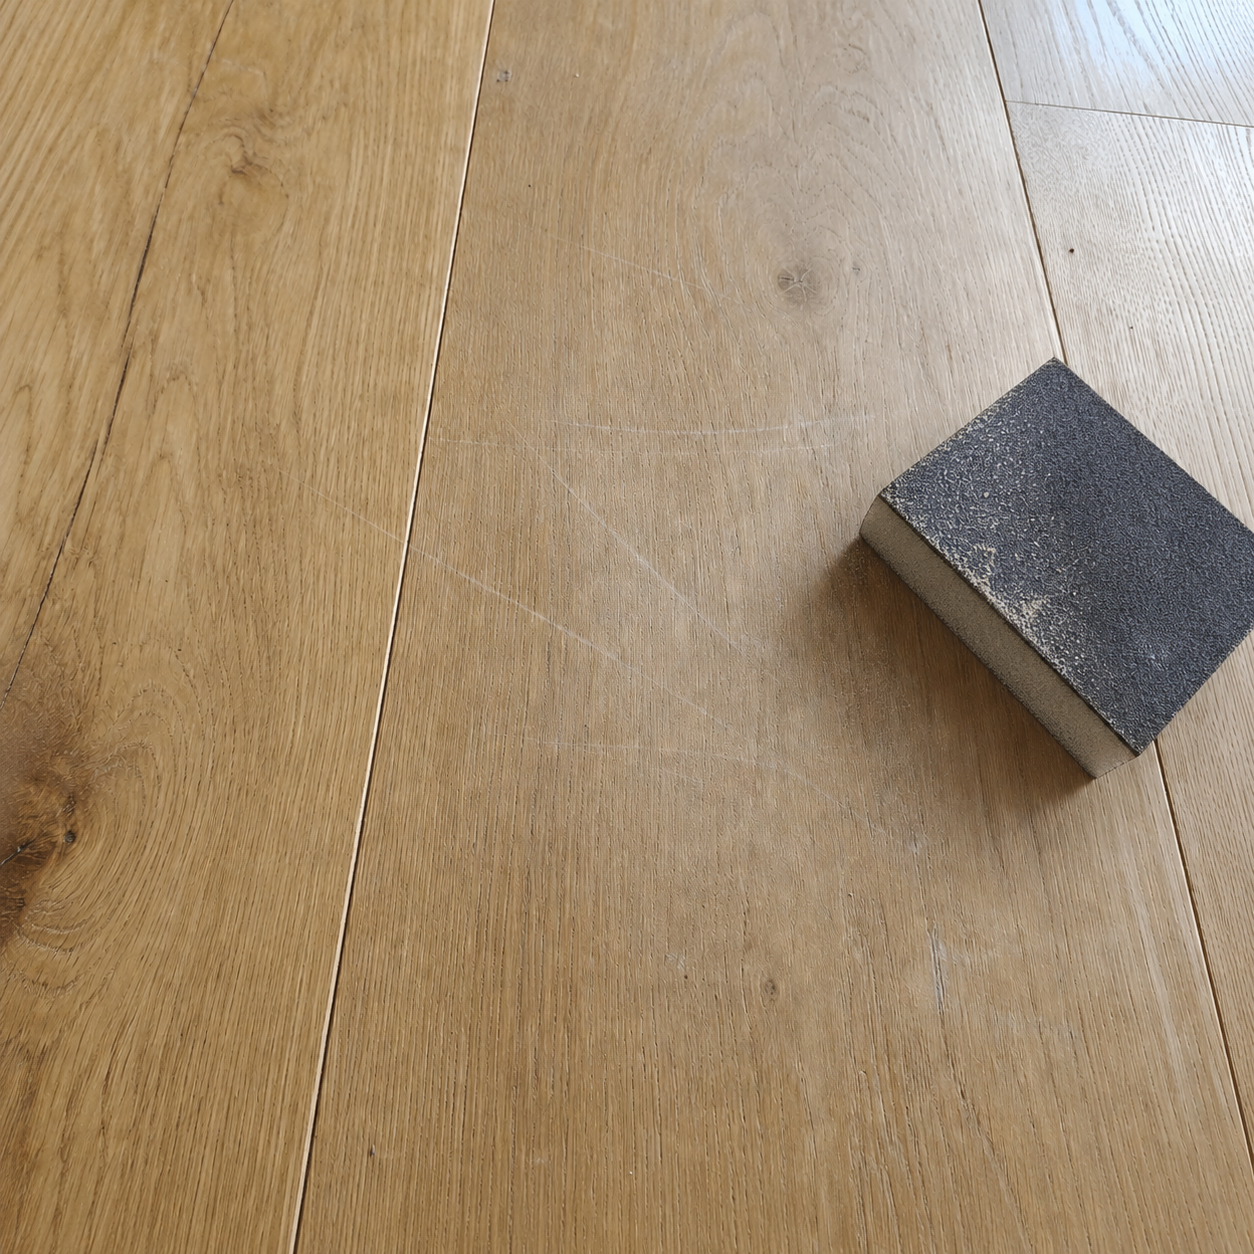
Step 2: Lightly smooth the damaged area
Use a fine sanding sponge only on the damaged zone. Stop if the scratch starts to widen or the surrounding finish changes too much.
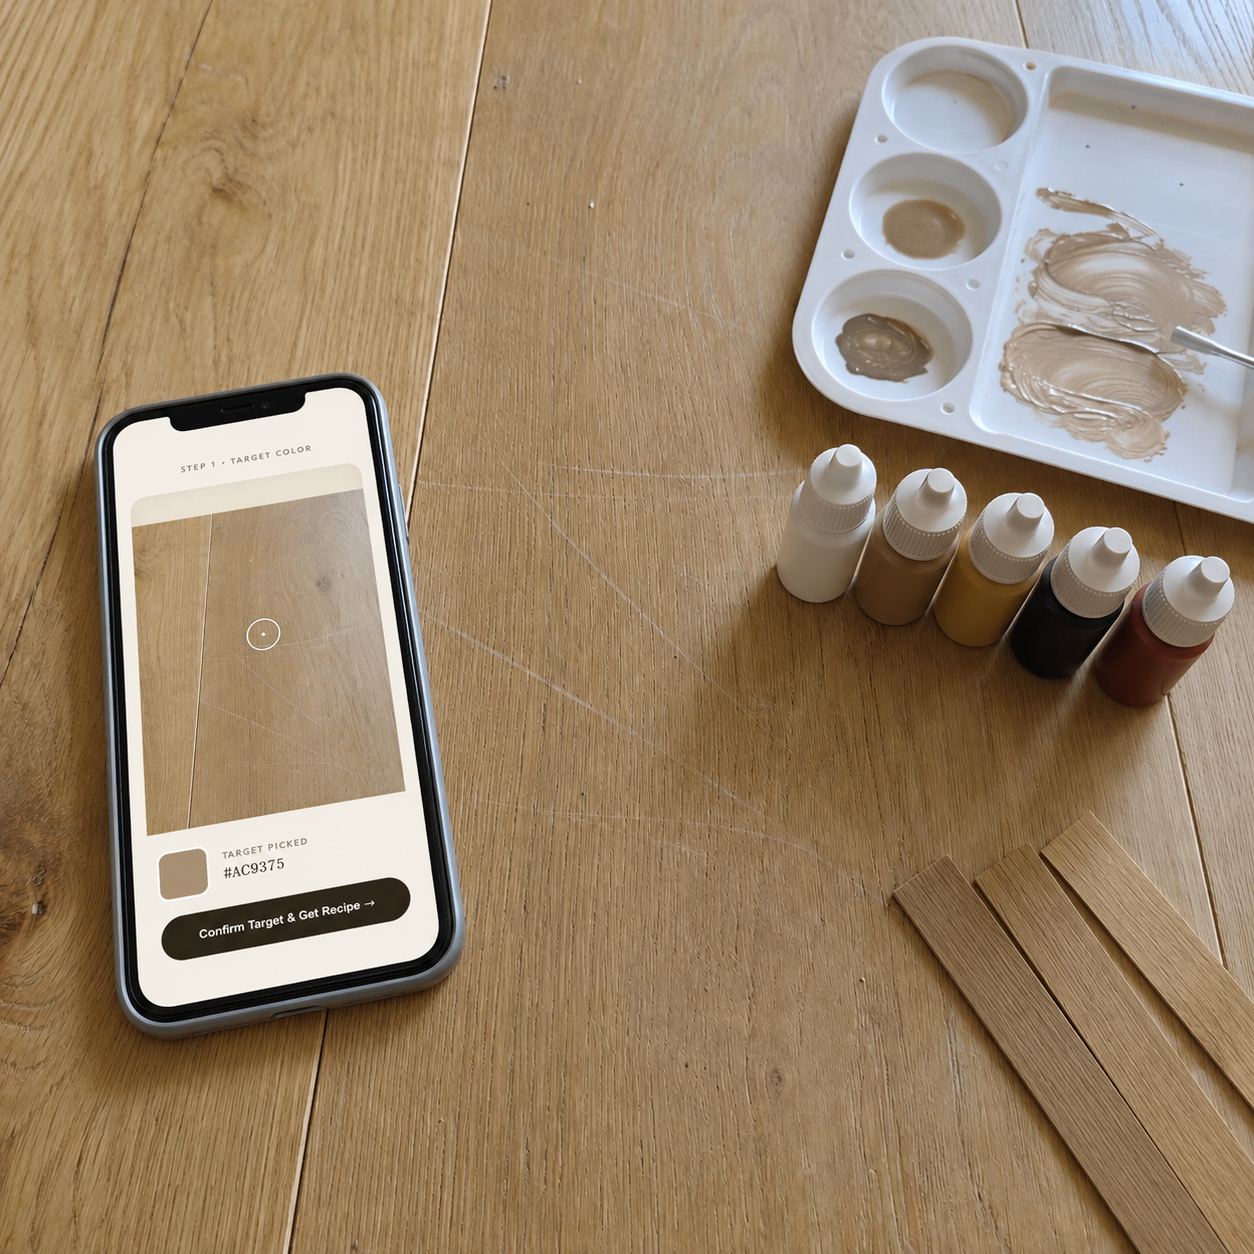
Step 3: Match the floor color
Use the ArtisanLabFix color matching workflow to mix a tone that blends with the surrounding wood after drying.
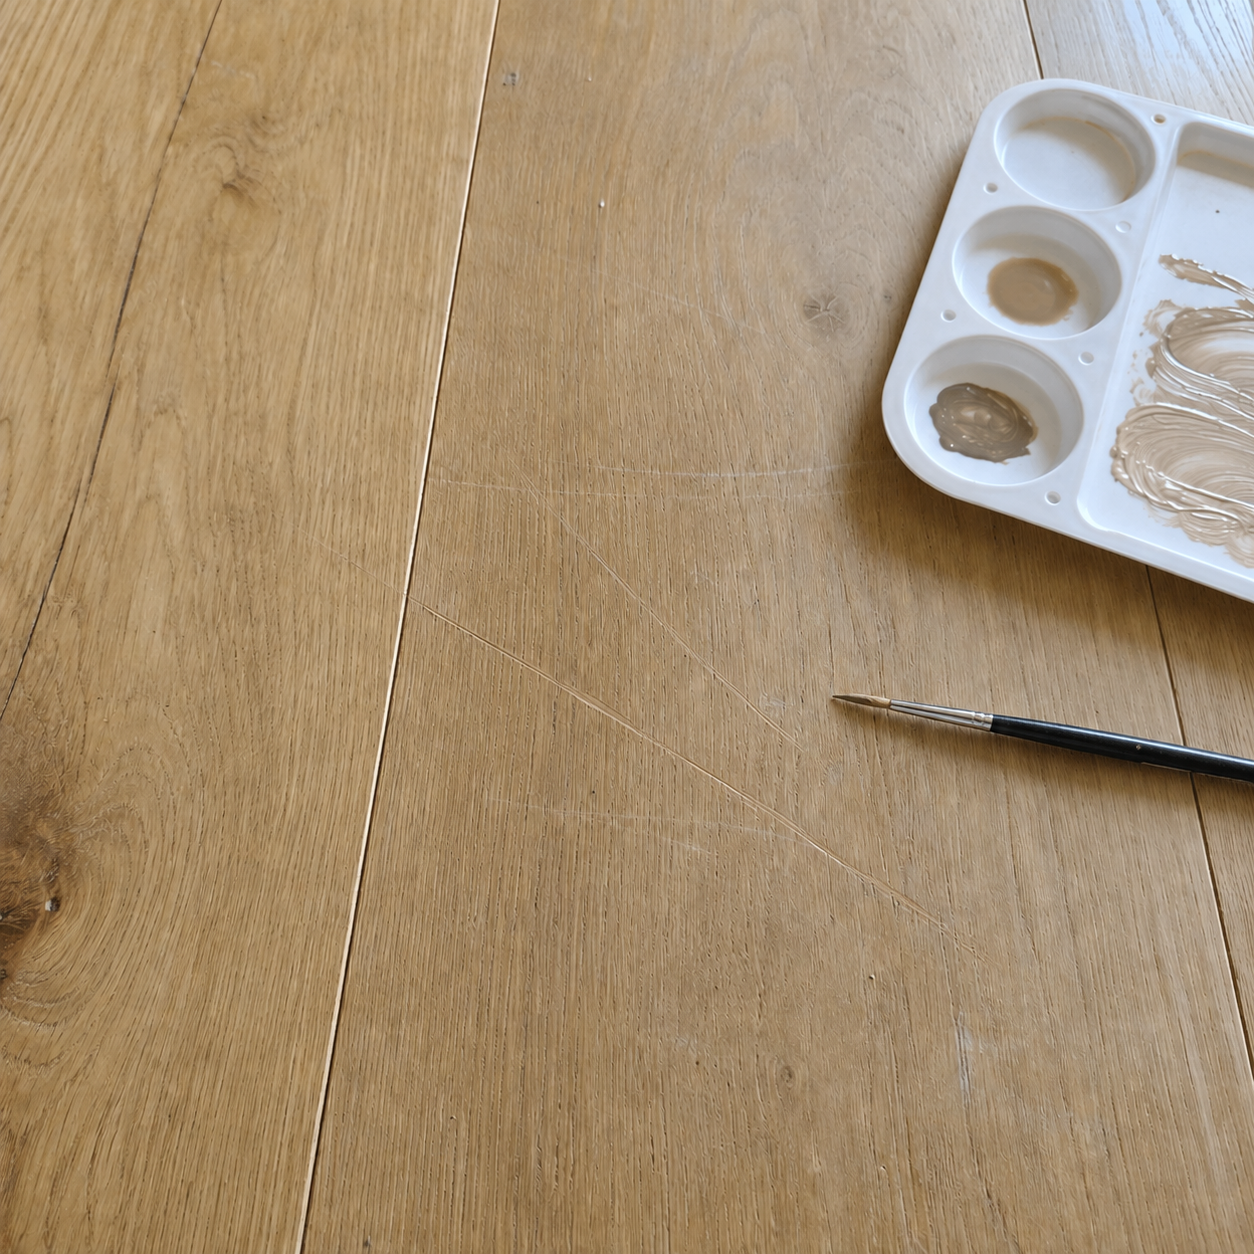
Step 4: Paint the scratch carefully
Apply the matched color in thin layers. Check the dry result from standing height and from a slight angle before sealing.
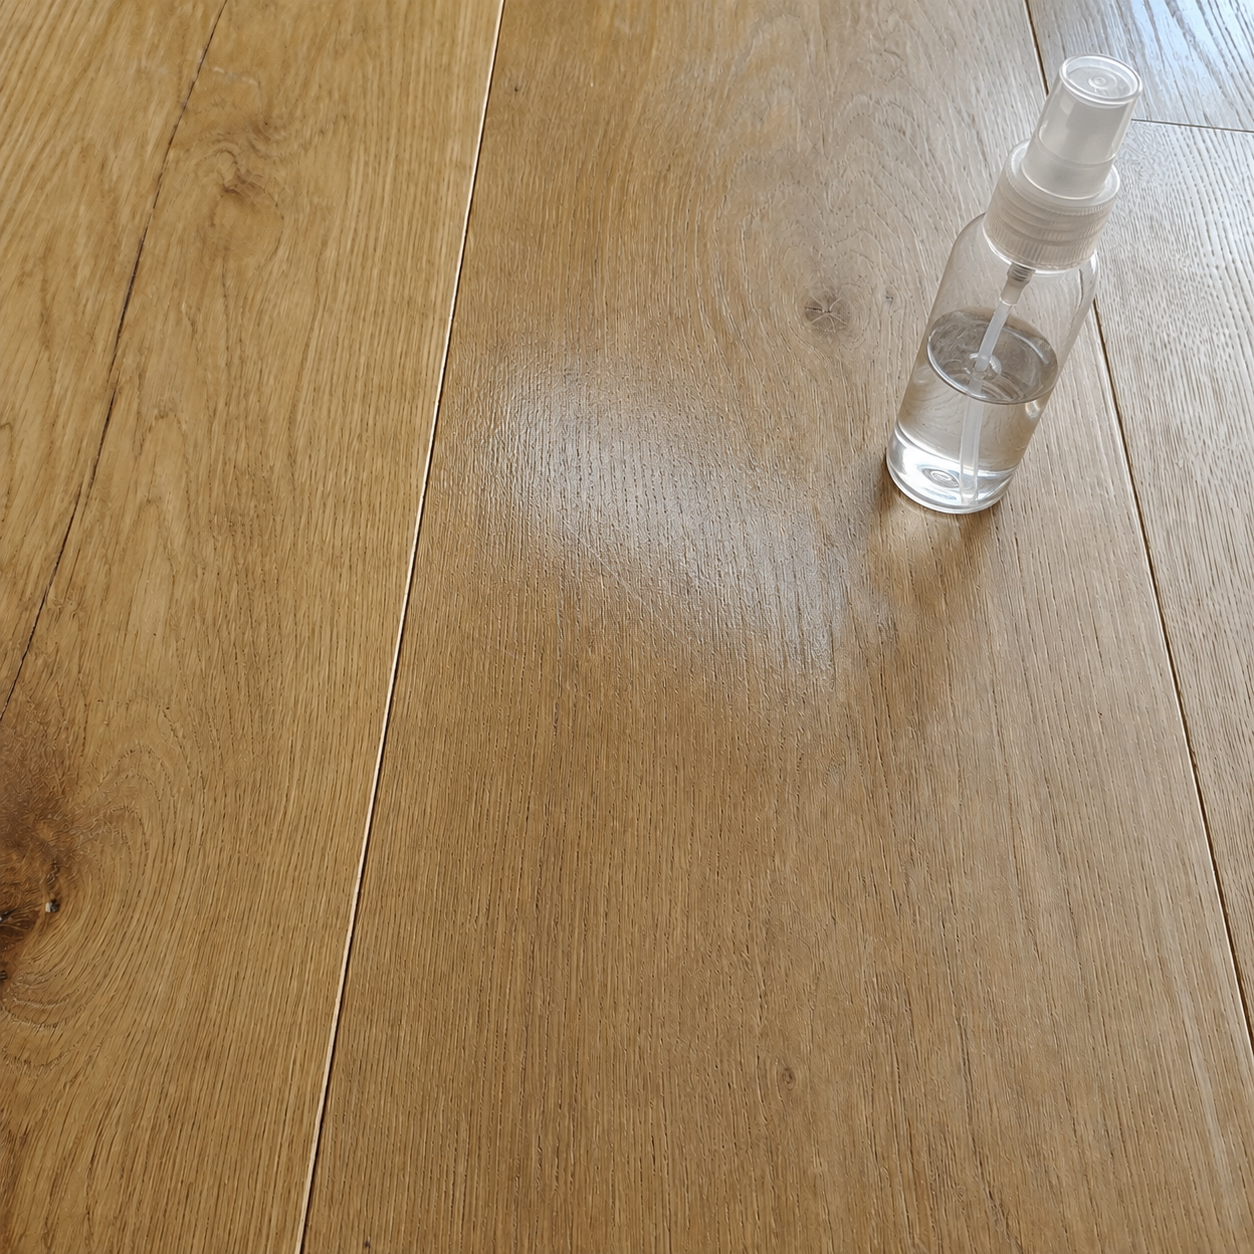
Step 5: Seal the repair
Apply a thin compatible clear finish that matches the existing sheen. A slight repair trace may remain, especially under strong light.
What you usually need
- Microfiber cleaning cloth
- Fine sanding sponge
- Mixing palette
- Acrylic pigments
- Detail brush
- Compatible clear finish
Want product recommendations and the ArtisanLabFix color matcher?
If the scratch exposes deep wood damage or the board feels unstable, stop and consider professional help.