Water Damage Protocol
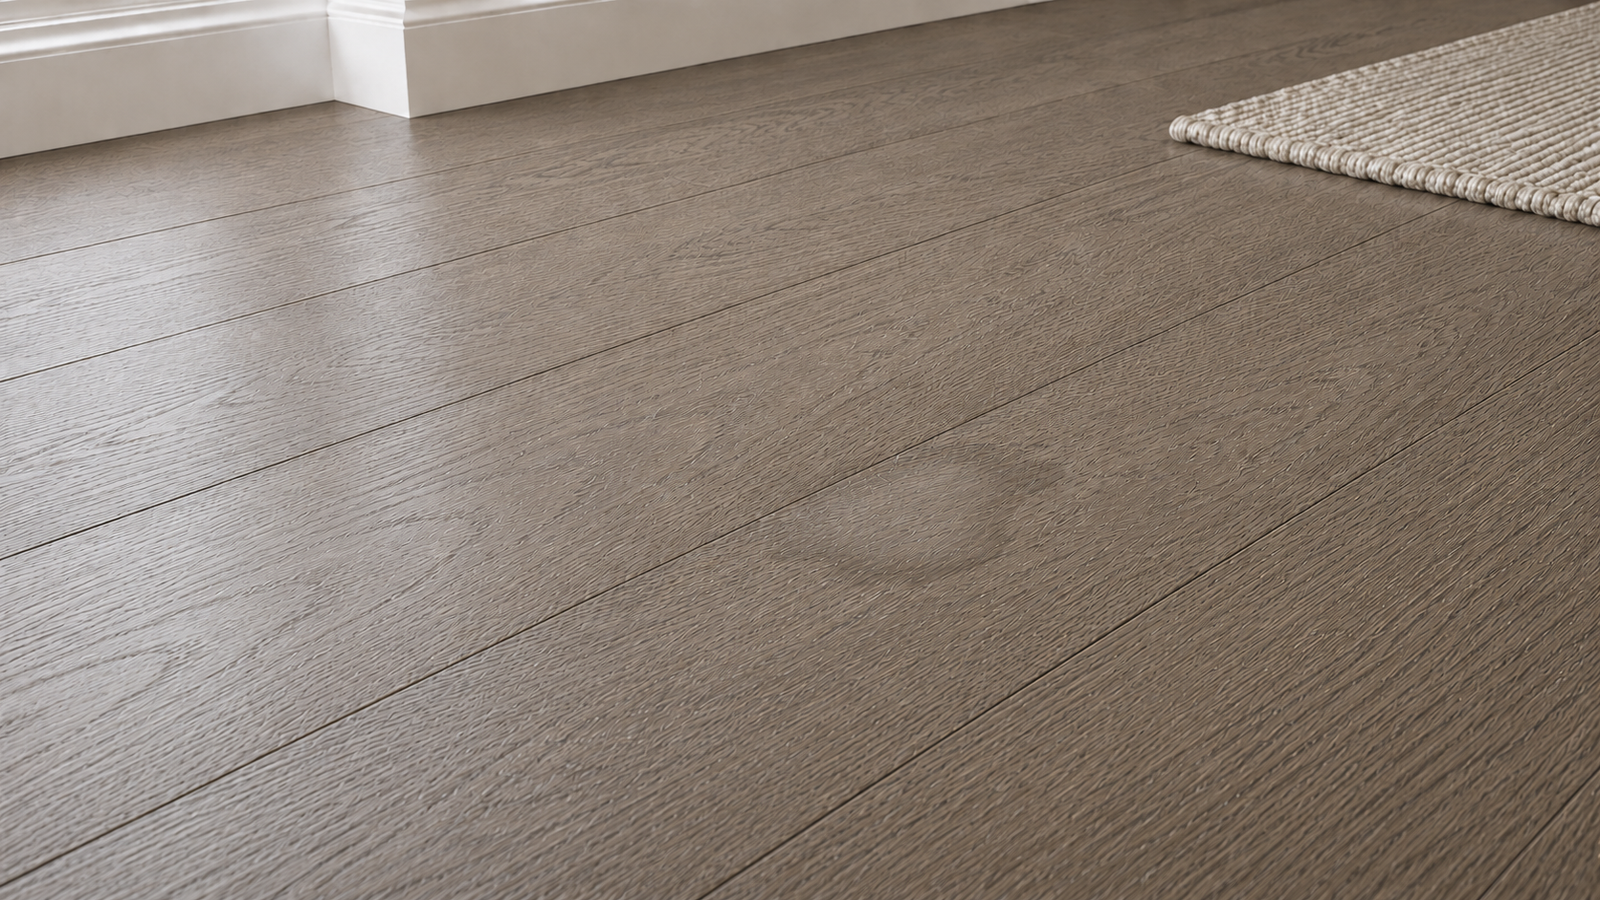
Problem Summary
Cloudy white marks, dark stains, or finish changes caused by water. If the floor is soft, swollen, warped, or moldy, stop and escalate.
Step-by-step repair
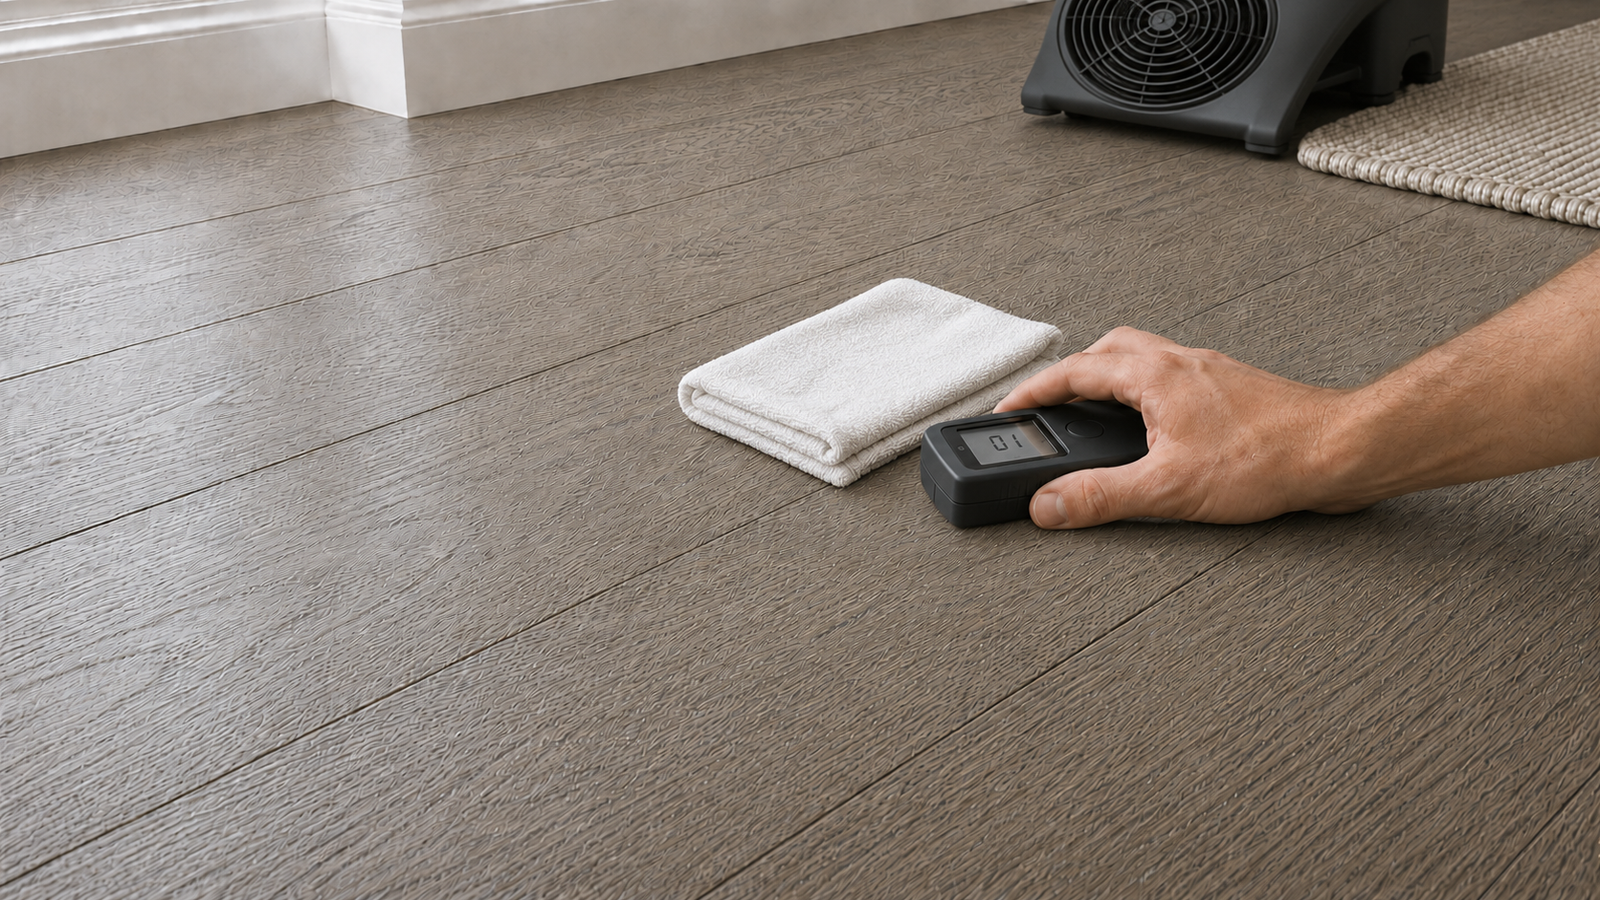
Step 1: Stop the moisture and dry the area completely
Stop the leak or spill, then dry the floor thoroughly and confirm it is no longer changing.
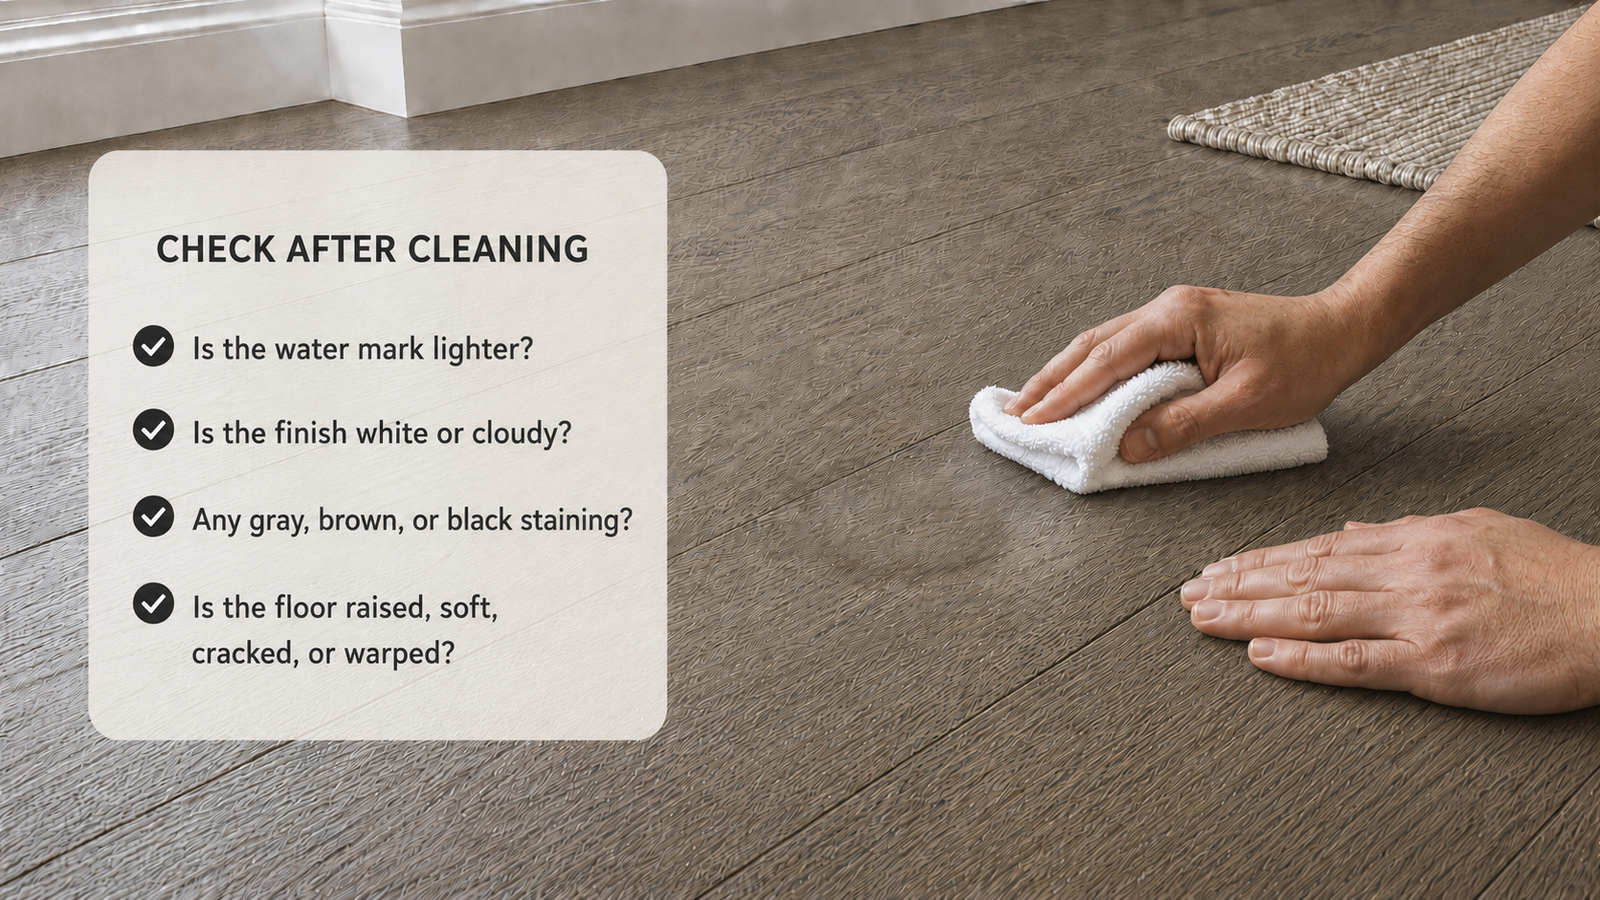
Step 2: Clean the stain and inspect the finish
Use a finish-compatible cleaner and check whether the mark is surface residue, discoloration, or finish damage.
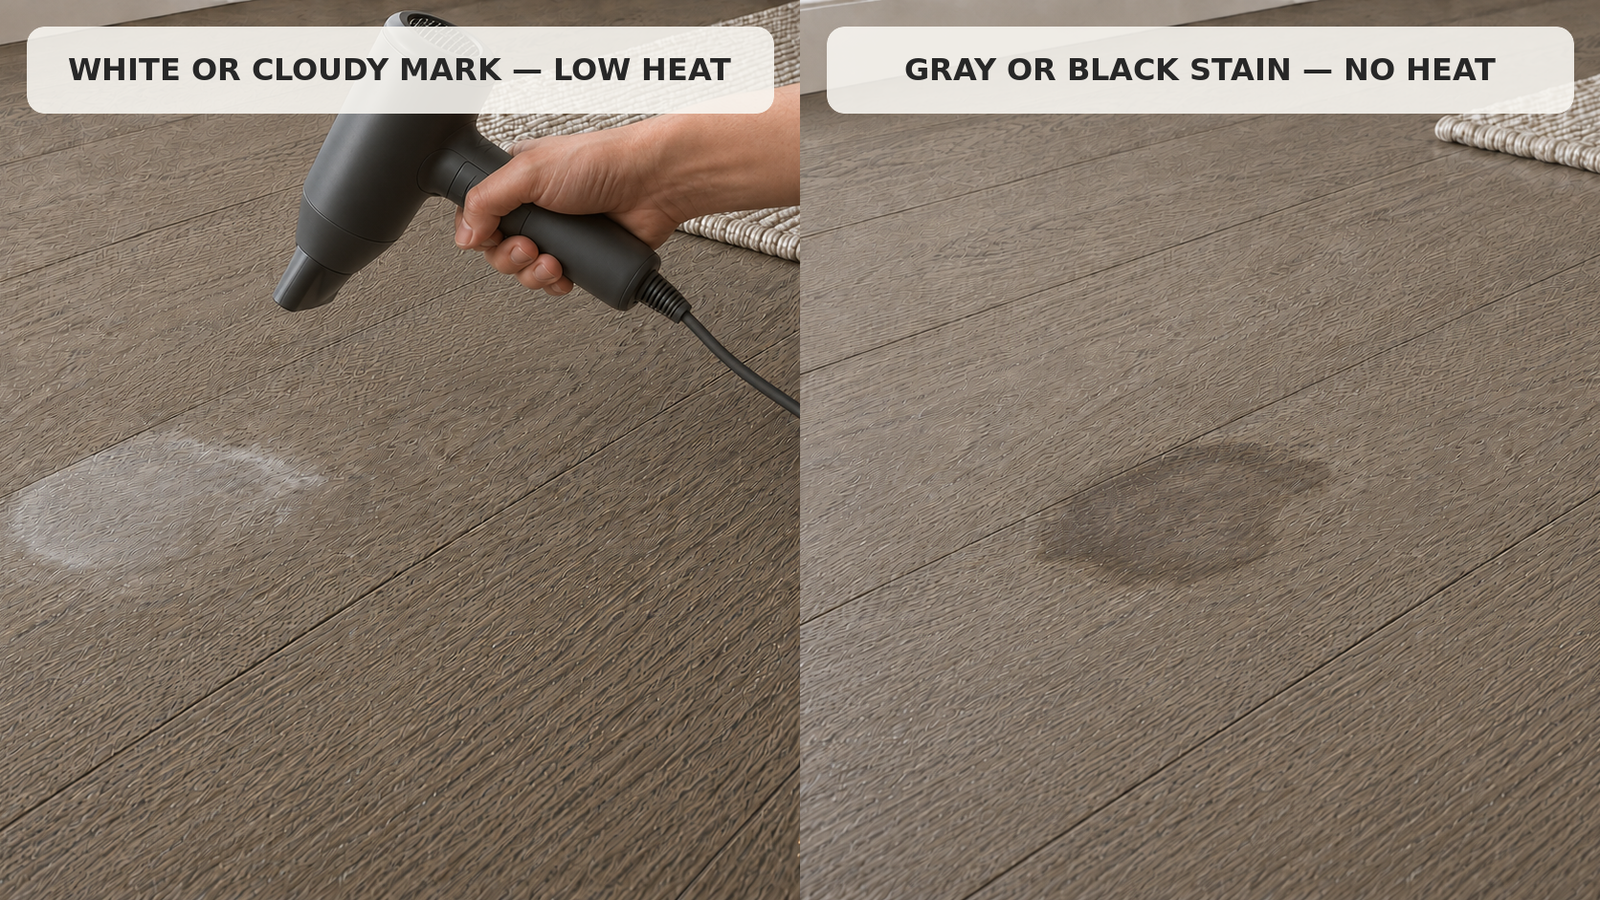
Step 3: Reduce the remaining discoloration
Choose the correct method for white haze, water rings, or tannin staining and test in a hidden area first.
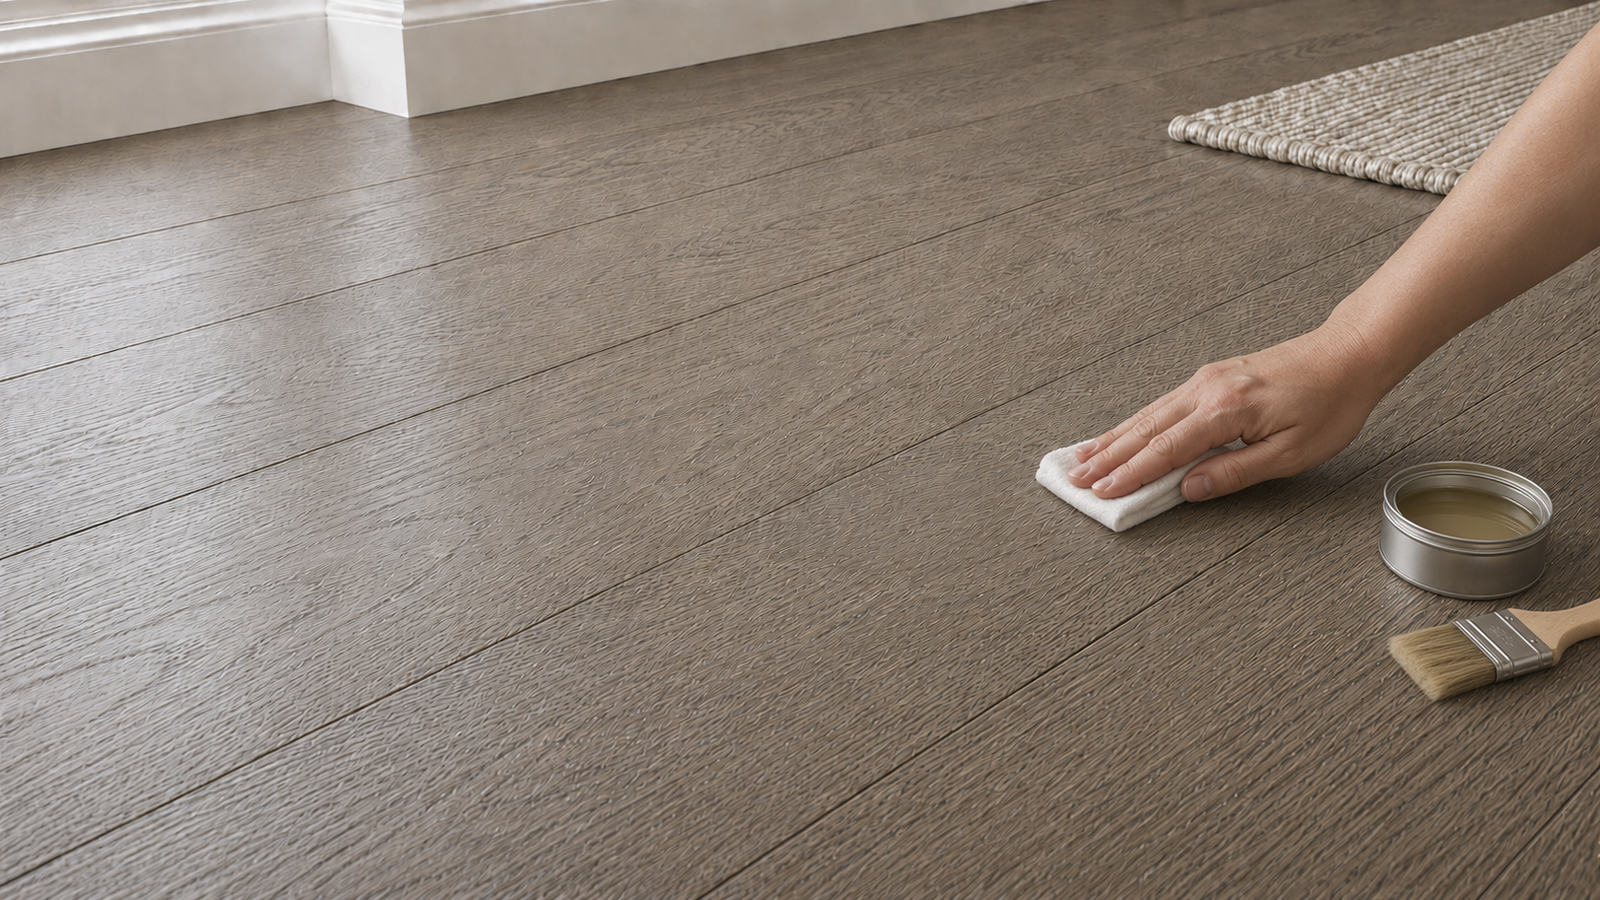
Step 4: Restore and protect the finish if needed
If the protective layer was affected, apply a thin compatible finish that matches the existing floor system and sheen.
What you usually need
- Pinless moisture meter
- Floor drying fan / air mover
- Finish-compatible floor cleaner
- Hair dryer or warm iron over a cloth
- Water ring remover
- Tannin remover
- Compatible clear finish
Want product recommendations and the ArtisanLabFix color matcher?
Never seal moisture into the floor. If the stain keeps returning or the floor stays soft, the issue is larger than a cosmetic repair.